A fish aquarium acts as a perfect focal point for any living room. The colorful fishes swimming inside the aquarium give your living rooms an interesting look and feel. Plus, an acrylic fish tank can be an excellent addition to the kid’s room.
When it comes to planning for an acrylic aquarium, you have a couple of options:
- Either build one from scratch (Cost effective option)
- Or buy a readymade acrylic fish tank (Costly but hassle-free)
Now, some homeowners think building acrylic aquariums is a tough ask. However, it’s not a tough procedure. It’s a relatively simple DIY process; any homeowner can follow it. This brief guide is all about building a DIY acrylic aquarium from scratch. Let us explore it!
How Long Do Acrylic Aquariums Last?
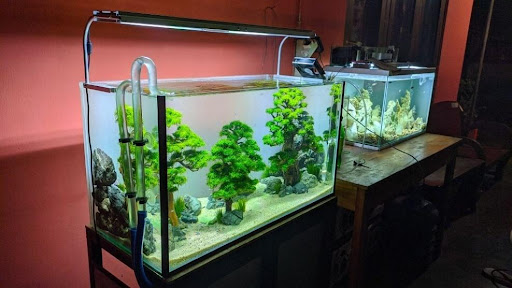
Acrylic aquariums have a pretty decent lifespan. If kept properly, they can last for around 5 to 15 years. You just have to keep your fish tank nice and clean. A weekly cleaning routine would be ideal to ensure a good lifespan.
How Thick Is Acrylic For Fish Tanks?
The ideal thickness level varies for each acrylic fish tank. Here is a brief rundown of some common thickness options:
| Acrylic Aquarium Dimensions | Optimum Thickness |
| 0-12 Inches | ¼ inches |
| 13-19 Inches | 3/8 inches |
| 20-24 inches | ½ inches |
How Much Does It Cost To Build An Acrylic Aquarium?

The cost of building a DIY acrylic aquarium varies on several factors. For instance, the aquarium’s size and thickness can vary its overall cost.
On average, a 0-12 inches aquarium costs around $150 to $200. Whereas 13-19 inches and 20-24 inches acrylic aquariums will cost around $250-$350 and $350- $400, respectively.
Where to buy acrylic for an aquarium?

It is best to opt for custom cut plexiglass for plexiglass aquariums. We recommend buying customized acrylic sheets from Glass Genius. You can order one in any size, thickness, and styling.
Glass Genius is one reputable online glass marketplace. We have all types of acrylic sheets and glass panels readily available.
Here you can also order large size acrylic sheets that can be cut into various sizes and shapes. However, only buy large size plexiglass sheets if you have the proper setup. Plus, to cut these plastic sheets, you must also have some experience.
How to Make Acrylic Fish Tank?
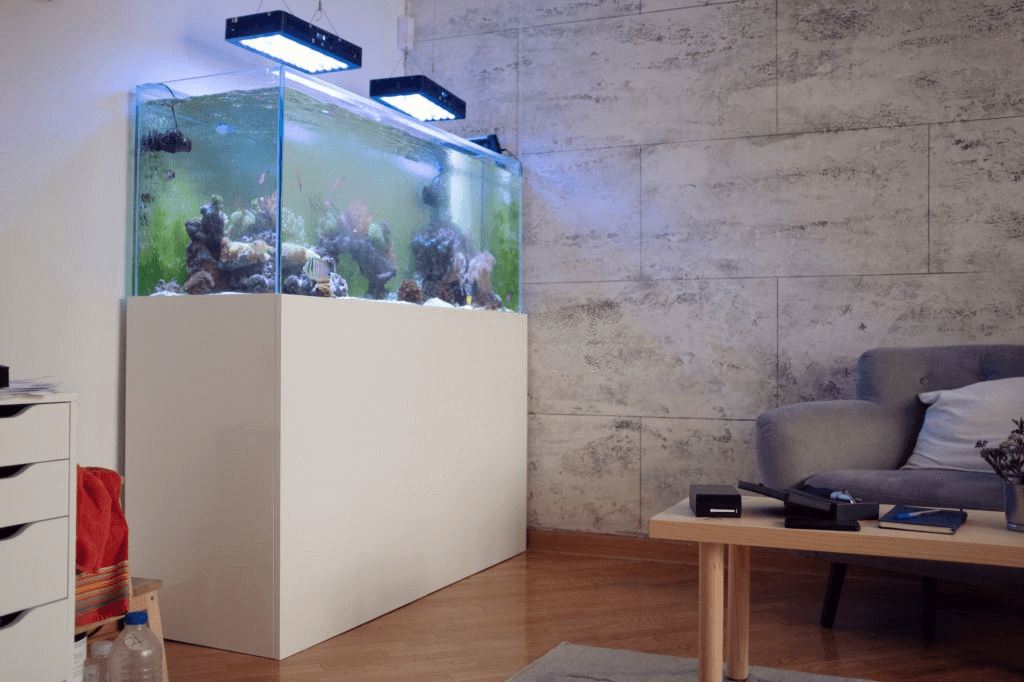
Now, let us discuss the DIY process of making an acrylic fish tank at home. Here is all you need to know in this regard.
Materials Needed
Let us first highlight the materials you will need for this DIY project. Don’t worry; most of these are commonly used in homes. Here is a list of all these tools:
- Duct Tape
- A Syringe
- Glass Cutter
- Sandpaper
- Acrylic Glue
- Acrylic sheets (Custom Cut)
Steps to Build Acrylic Aquarium
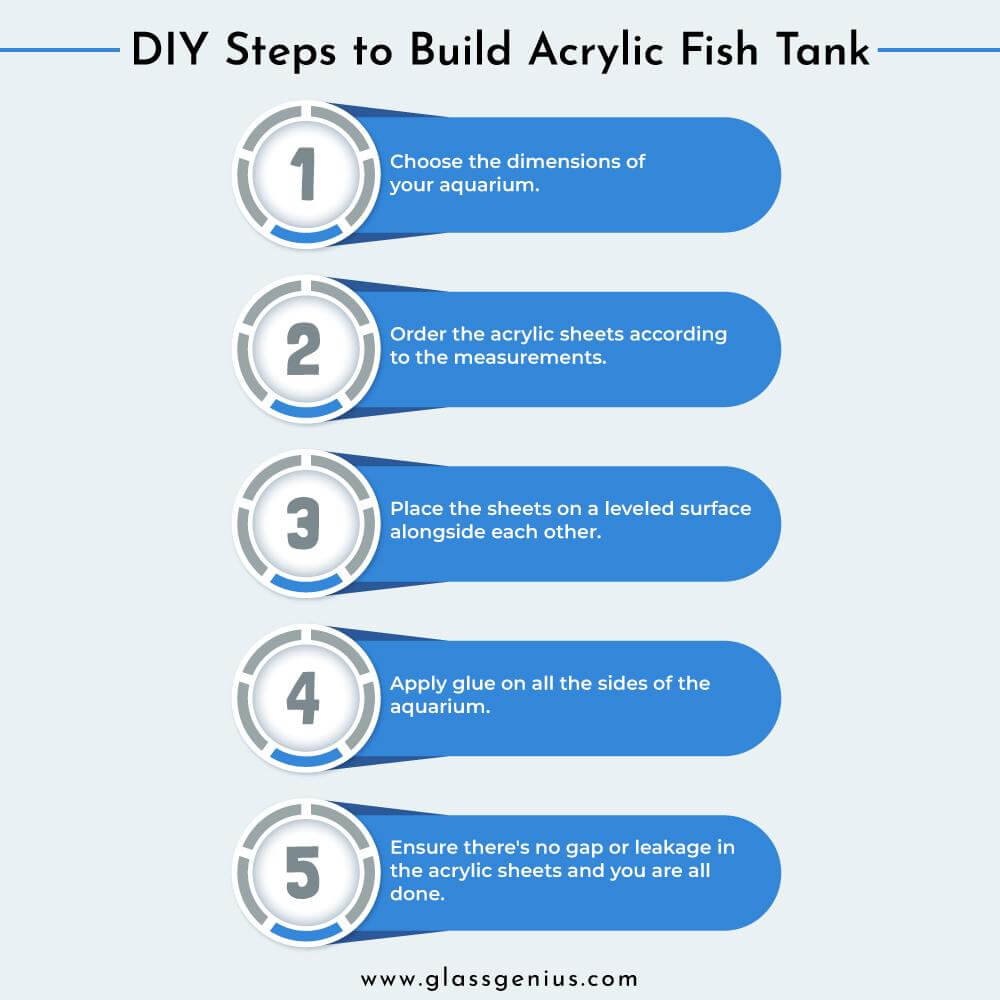
Step 1: Choose the Aquariums Dimension
First, you have to choose the dimensions of the aquarium. You can choose 0-12 inches size if you want a small size aquarium. Whereas the 20-24 inches size range would be ideal for a living room or an indoor dining area.
Step 2: Order Custom Cut Acrylic Sheets
Once you have chosen the dimensions of your acrylic fish tank, the next step is to order custom-cut acrylic sheets. You can order these acrylic sheets from Glass Genius.
These sheets will streamline the whole DIY process since you just have to glue them together. Anyhow, you can also cut acrylic sheets on your own. Simply order acrylic glass panels and cut them according to the dimensions of your fish tank.
Use a glass cutter to carefully cut these sheets. You can use metallic paper to smoothen the edges of the acrylic sheets.
Step 3: Place the Sheets alongside Each Other
Next up, you have to place the acrylic sheets alongside each other. First, lay the base sheet (the bottom sheet). Ensure that you place it on a leveled surface. Now, you have to align the four sides. So, position the four side sheets one by one.
Here, you may require assistance from someone just to hold the sheets together until you apply glue.
Step 4: Glue all the Sides of the Aquarium
Now, you have to glue all the sides of the aquarium (including the base sheet). Use a syringe and fill some glue in it. Carefully apply glue alongside all acrylic sheets. This will hold all the sides together.
Do the same for the bottom sheet. Let the glue dry for some time. Ideally, you should let it dry for at least 6 hours.
Step 5: Ensure all Sides are joined properly
Test out your newly built fish tank. Ensure that the base sheet holds all the sides. There shouldn’t be any gaps or cracks. In case you find one, fill that gap with the glue and let it dry again for some time.
Now, fill the fish tank with water. Let the aquarium hold the water for some time. There shouldn’t be any leakage.
Final Thoughts!
So, that’s how you can build an acrylic aquarium. See how simple and easy it is to build one at home. This DIY hack not just takes less time but is also quite light on the pocket. You don’t have to invest in expensive tools.
Plus, you can choose the dimensions and plexiglass thickness of your choice. We recommend buying your chosen acrylic glass sheets from Glass Genius. Get them delivered to your doorstep with no hidden fee.


