The bathroom is one of the most underrated places in the entire house. Used excessively throughout the day by members of the household and guests, the bathroom can be difficult to get and keep clean, which means it can also be difficult to make the bathroom look as nice as it can.
Fortunately, there are simple steps you can take to quickly improve the look and feel of your bathroom, which will make it more comfortable and inviting. One easy upgrade you can make is adding a frame around your wall mirror. The mirror, after all, is typically the focal point of the bathroom and it must look gorgeous so that the rest of the room can do the same. DIY mirror framing can be a simple process, and with this guide, we will show you how you can DIY frame your bathroom mirror in as little as two hours.

Why DIY Mirror Framing?
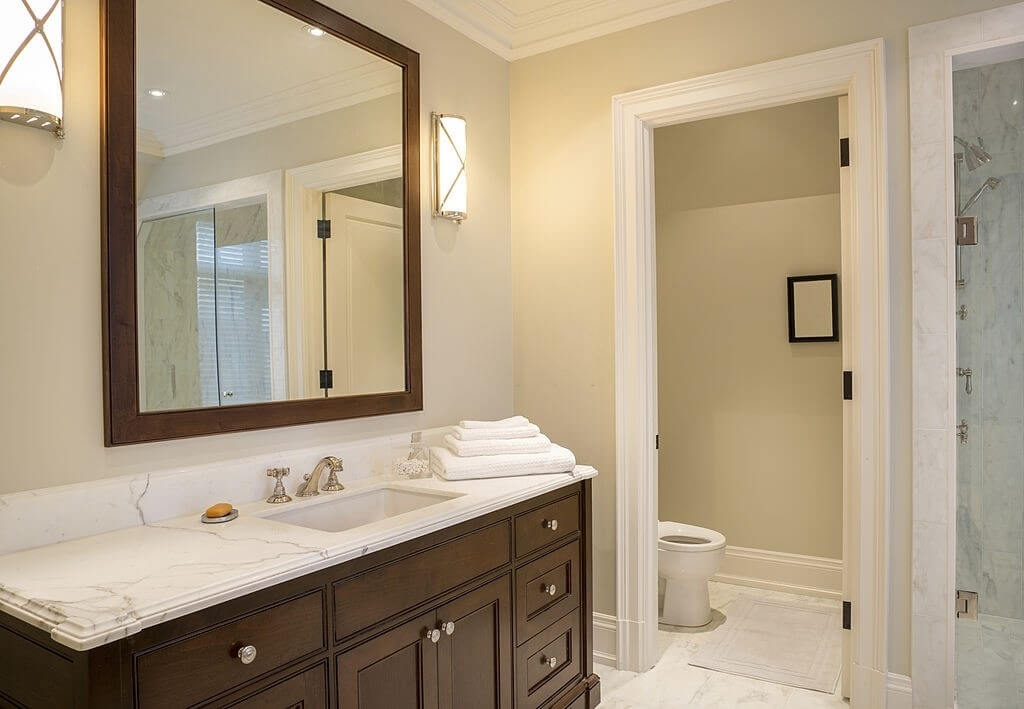
First things first: What is the advantage of DIY mirror framing in your bathroom? Why shouldn’t you just hire a professional or purchase a mirror that is already framed?
DIY mirror framing comes with multiple benefits. For one, hiring a professional carpenter to frame your led makeup mirror or purchasing a new mirror altogether can be very expensive. Also, once you purchase a new mirror you would have to either go through the trouble of removing the old one and hanging the new one or paying someone to do it for you.
With DIY mirror framing in your bathroom, you have complete control over the entire process—from choosing the materials to matching the colors to your bathroom design. And the best part is how quick and affordable the entire process can be.
DIY Mirror Framing Material Ideas
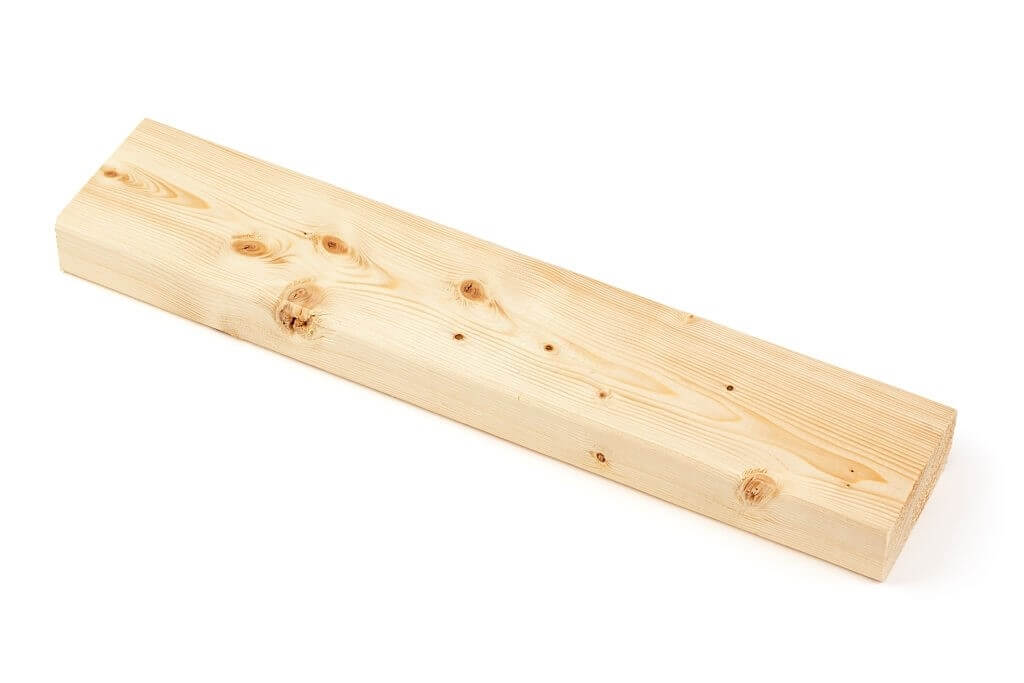
Part of the fun of DIY mirror framing is that you get complete control over the entire process, including which materials you will use for the frame. Bathroom mirror frames come in a variety of materials, each with its own unique look and benefits. Some of the most common include:
- Raw wood
- Finished wood
- Synthetic plastic
- Vinyl
Once you have assessed your own bathroom for design and feel, you are well on your way to your DIY mirror framing project!
How to Frame Bathroom Mirror?
Required Tools
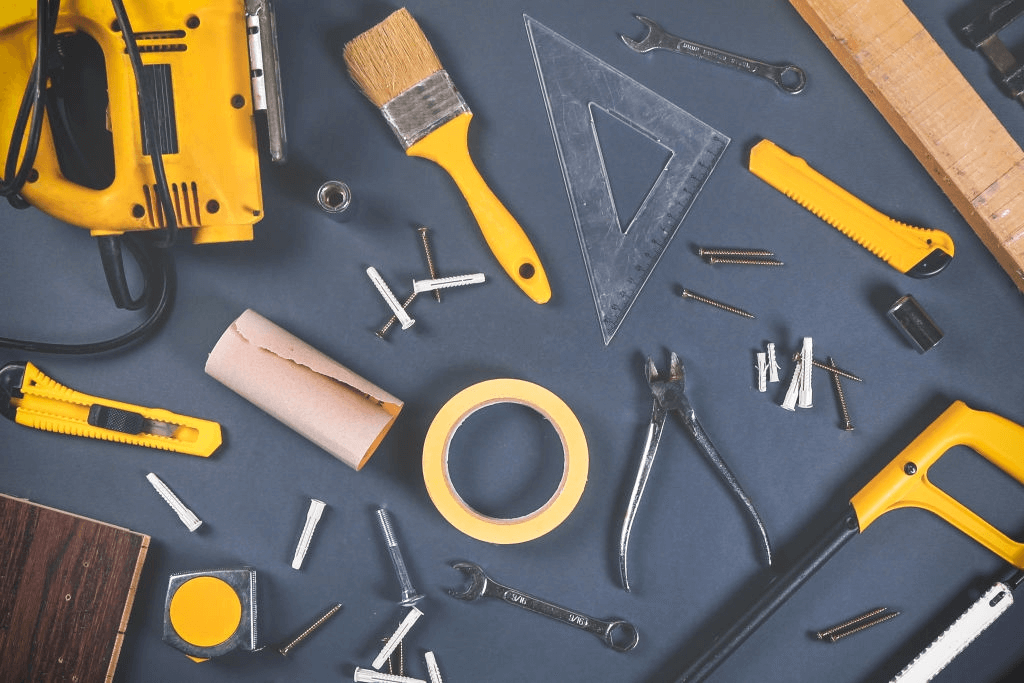
To get started, there are several materials that you will need. Luckily, these are the materials that you likely either already have in your home workshop or can easily pick up at affordable prices from your local hardware store.
- Measuring Tape
- Level
- Saw – Preferably Miter Saw
- Strong Wood Glue or Liquid Nails
- Caulk and a Caulk Gun
- Paint and Pan
- Painter’s Tape
- Paint Brush
- Whatever Material You Want Your Mirror Frame To Be!
A Step-By-Step Guide to DIY Framing Your Bathroom Mirror within 2 Hours
Ready to begin your DIY mirror framing project? Here are the step-by-step instructions for DIY mirror framing your bathroom mirror within only a couple of hours.
STEP 1
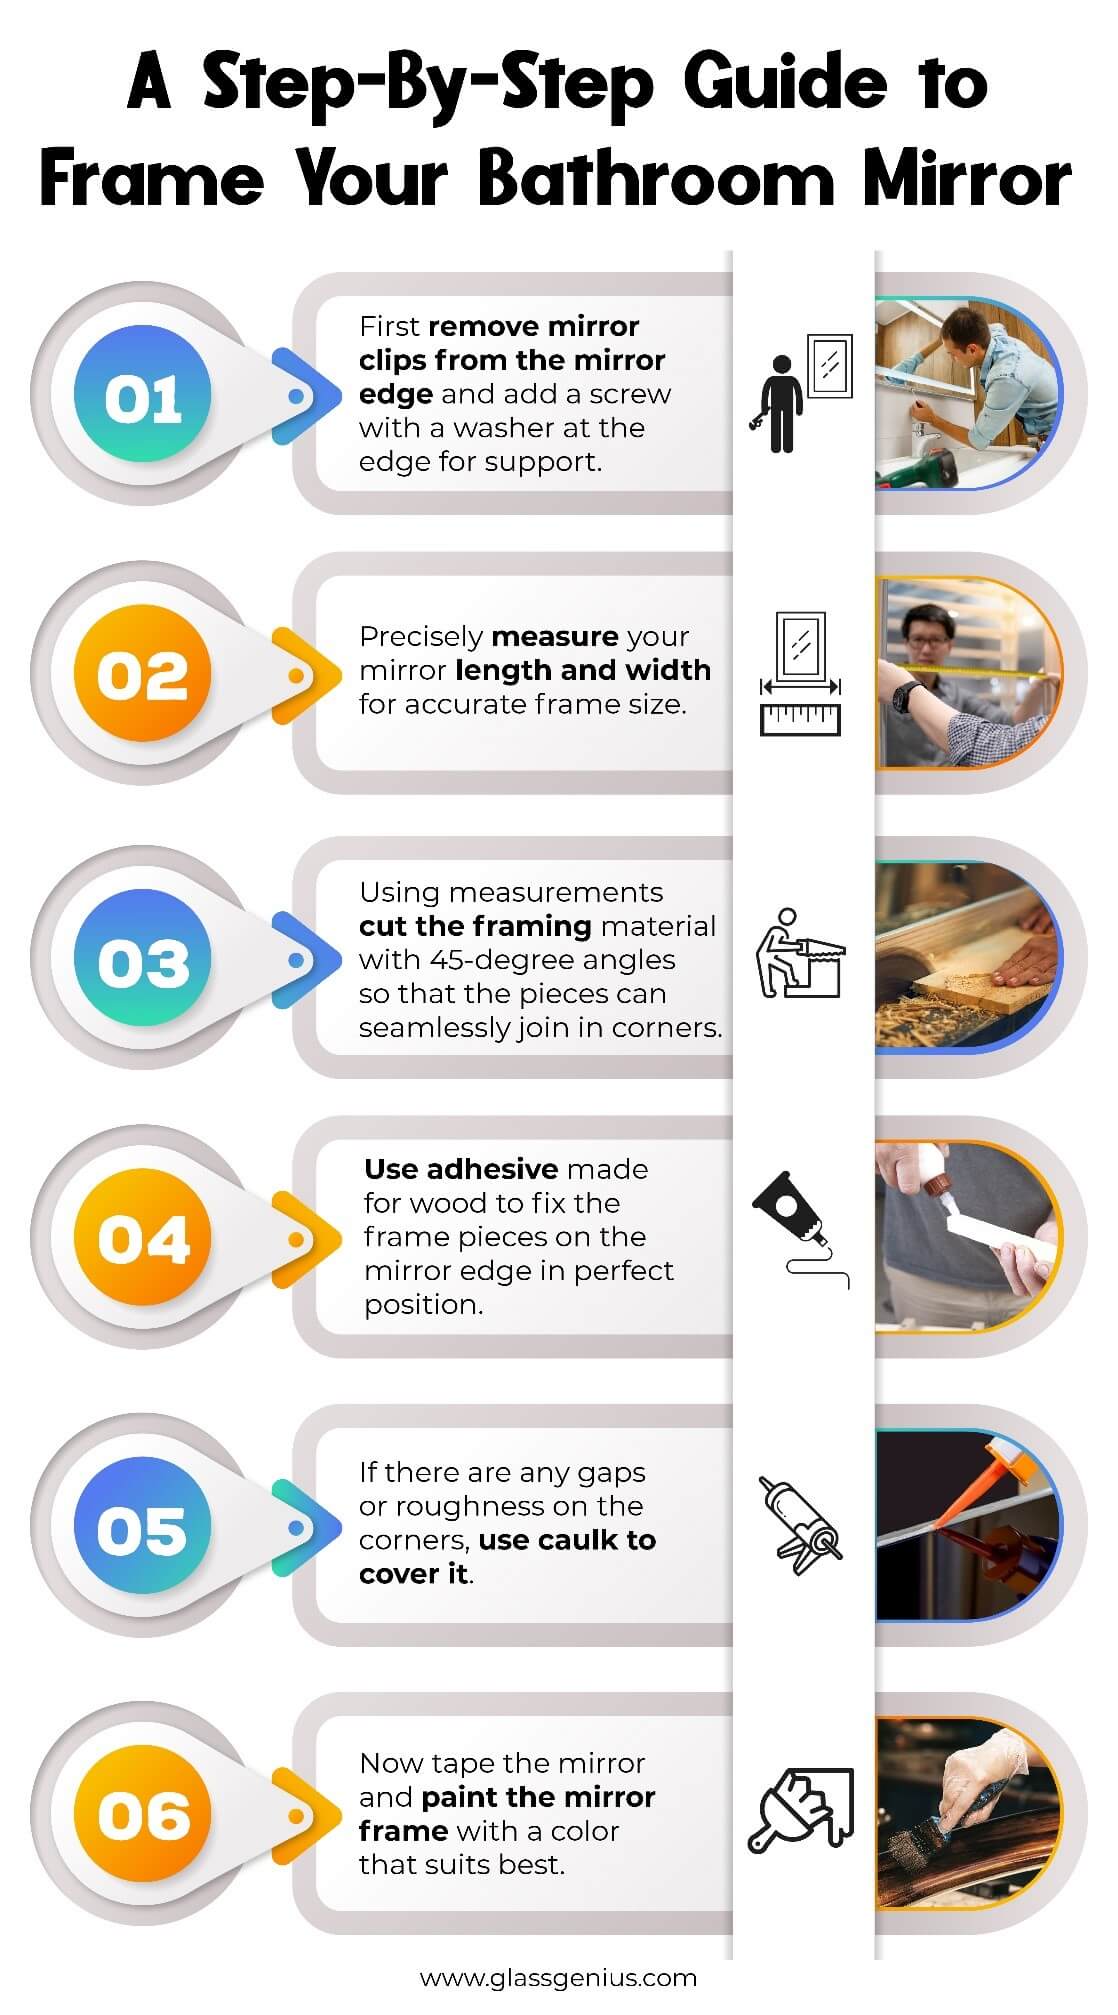
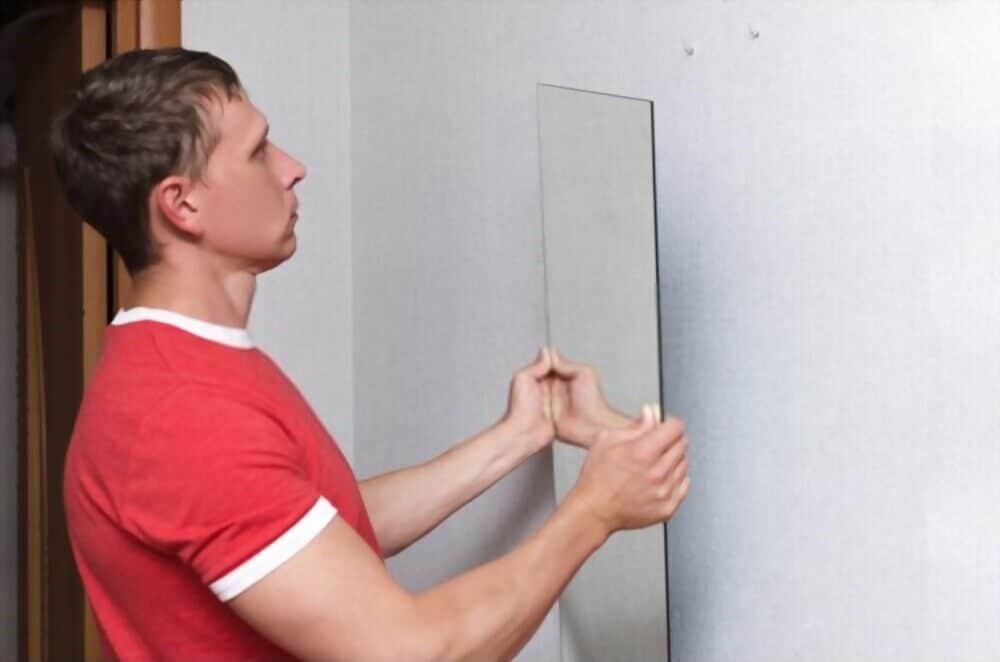
Remove the mirror clips around the edge of your mirror. To begin DIY framing your bathroom mirror, you will need to work with a mirror that is flush against the wall without anything sticking out around its edges. Instead of traditional mirror clips, you can add a screw with a washer just off the edge of the mirror, so that the washer acts as a support when the screw is screwed flush with the mirror surface.
STEP 2
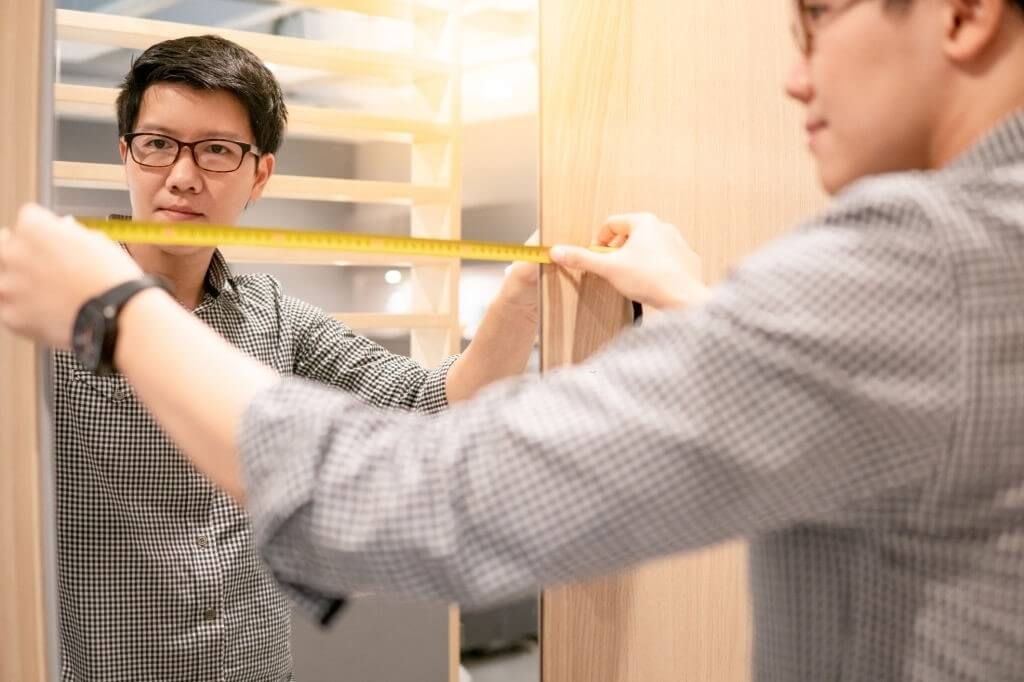
Measure your mirror. Get precise measurements of how long and wide your mirror is. This will help you know how big your frame is going to be.
STEP 3
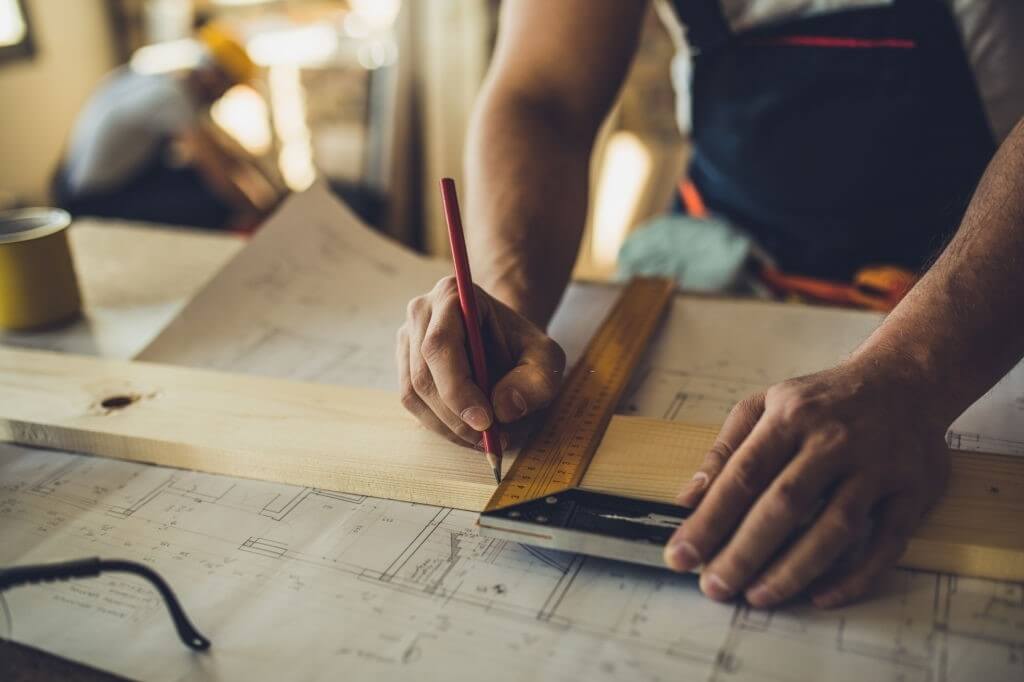
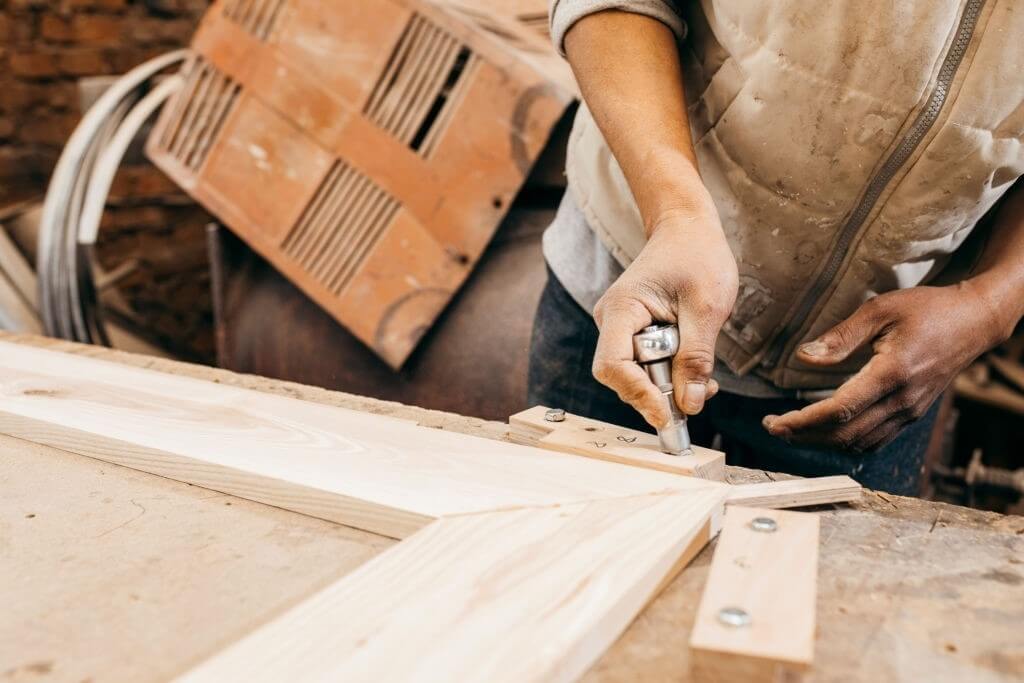
Using your measurements, cut your framing material commonly some type of wood to the correct lengths. You should cut 45-degree angles into the ends of the boards so that the pieces can seamlessly come together in the corners. When doing this, make sure the shorter length of the board is the length of the mirror.
STEP 4
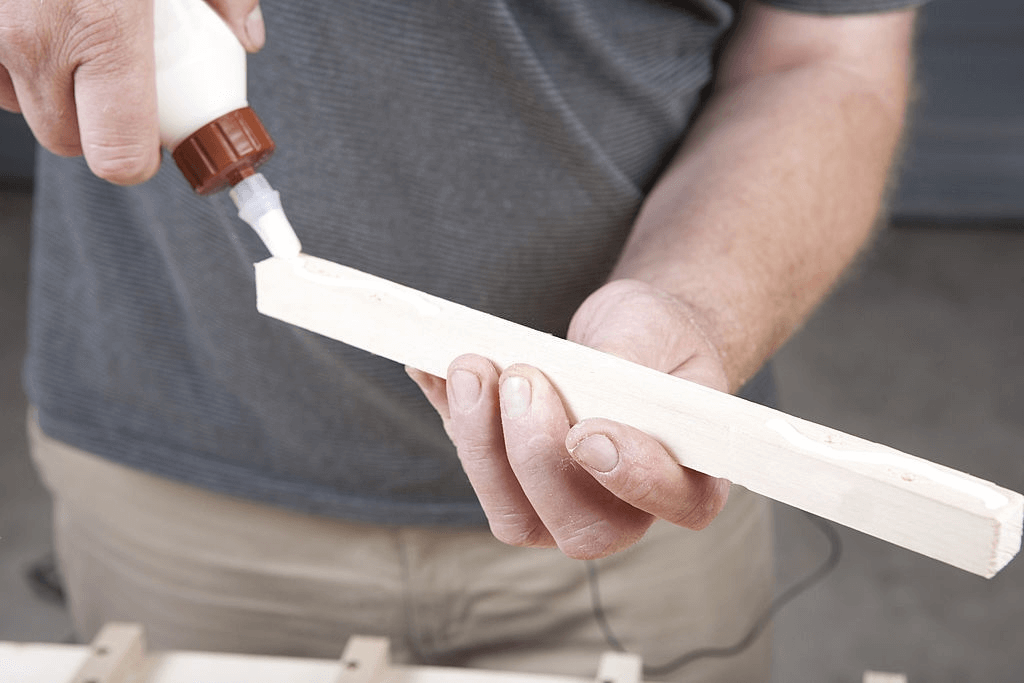
Add a fastening material. Whether you choose wood glue, liquid nails, or caulk, add it to the backside of the framing boards and then position the boards around the edge of the mirror. Use a level to ensure they are straight. Hold them in place while the glue or caulk dries.
STEP 5
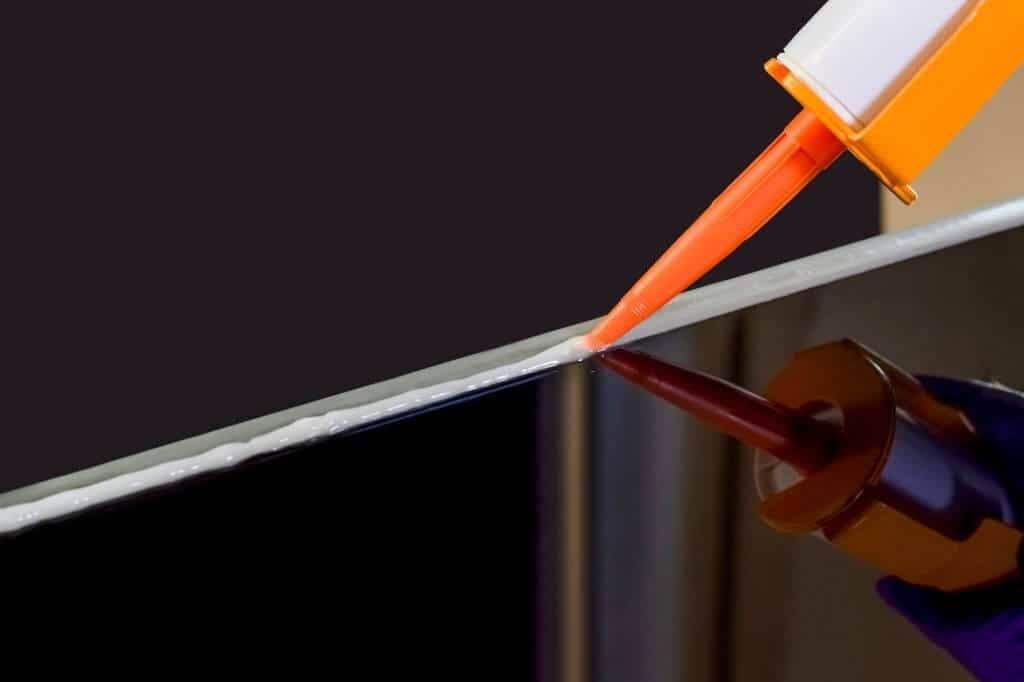
Touch up the seams. At the corners where the boards meet, if there are any gaps or unevenness, use a touch of caulk to hide any flaws.
STEP 6
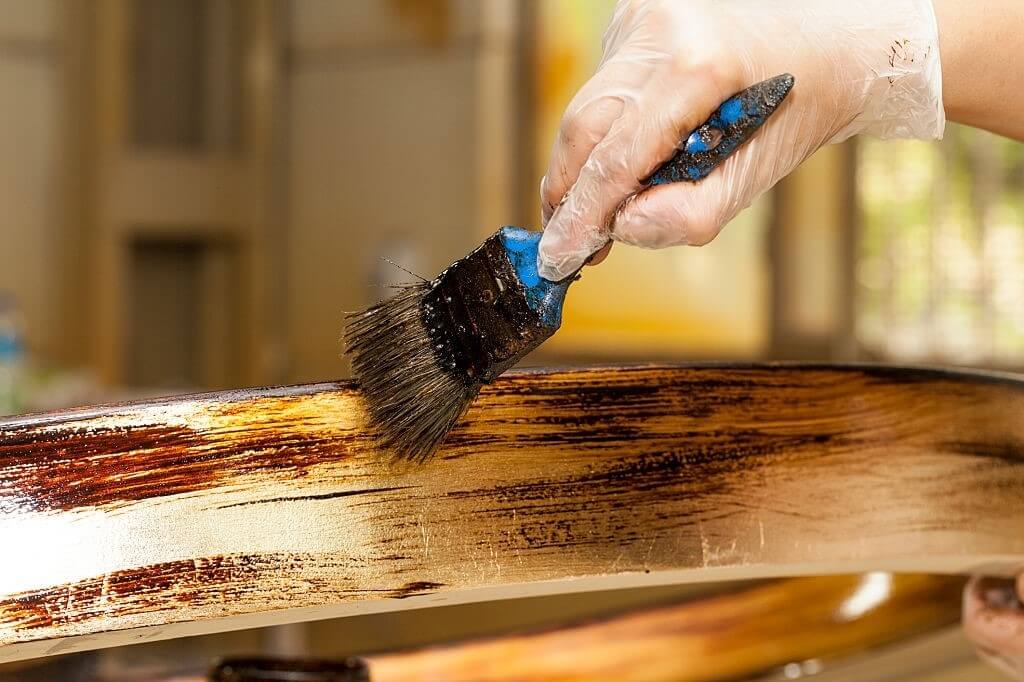
Now is the time to tape and paint your new frame, being cautious not to get paint on the mirror surface or the wall. When complete, give it time to air dry.
Enjoy your new mirror frame! You have completed your DIY mirror framing project. Pretty quick and easy, right?
Important Things You Should Know While DIY Mirror Framing
Finally, there are some important things you should know while going through your DIY mirror framing project. Be sure to have a strong understanding of why you are framing your bathroom mirror and why you are doing it a certain way. DIY mirror framing should reflect lighting, just like the mirror itself. Ideally, the frame should not be dark, but rather be a lighter color that brightens up the room and gives your mirror a special look. If you are going to paint your mirror frame, keep in mind the interior design of the rest of the bathroom.
Takeaway!
At the end of the day, DIY mirror framing in your bathroom is a gratifying project that will add value and comfort to the room. You and your guests will instantly enjoy the brightened space and the only question you will ask yourself is: “Why didn’t have to make it earlier?”


