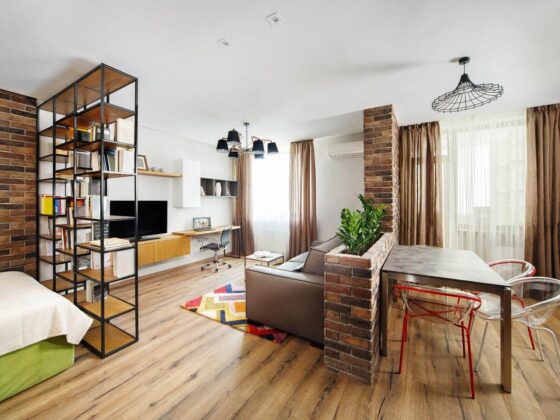
Contemporary design trends are all about minimalism. From art pieces to furniture elements, class and simplicity are at the core of every chic design trend. Glass has therefore gained popularity in the modern design world. The clean aesthetics of glass are highly cherishable.
However, glass cannot be used everywhere due to its strength and cost constraints. In order to cater to the high demand, thermoplastics were introduced as an alternative to glass. Thermoplastics are even better than glass in many departments. They have replaced glass in many applications. Clear shelves are one such application where acrylic glass has totally taken over the glass.
Acrylic shelves are strong, versatile, and stylish. We will learn about the DIY method to make plexiglass shelves here. Let’s start.
Applications Of Plexiglass Shelves

Acrylic glass is one of the most adaptable and long-lasting materials. It is widely used in shelving as it is super-sturdy and has the ability to hold considerable weight. A quarter-inch plexiglass shelf can easily hold up to 3 to 5 lbs of subject weight.
The weight-bearing capacity of plexiglass shelves increases considerably with the increase in the thickness of the acrylic sheet. Due to its sturdiness, you can use acrylic shelves anywhere in the house. Here are some of the major applications of acrylic glass shelves.
1. Wall Mounted Shelves
One of the most effective ways of maximizing the interior space is to bring the vertical wall space to use. Floating shelves are used to achieve that. Acrylic wall-mounted shelves bring practical and aesthetic excellence to the interior.
2. Shelves Inside the Windows
Acrylic glass shelves can be installed inside the windows to enhance the storage space like a pro.
3. Cupboard Racks
Clear cupboard racks not only serve as effective space boosters but also elevate the aesthetics of the cupboard.
4. Display Shelves
Clear shelves are widely used in retail stores and commercial places for product displays. You can use the same concept in your interior to display your favorite art pieces, collectibles, and travel souvenirs. Display shelves are a great addition to sitting areas and bedrooms.
5. Bathroom Shelves
No matter how many storage cabinets you have, bathroom storage can never be enough. Clear shelves are a great way of increasing bathroom storage in an effortless manner.
Benefits of Acrylic Shelves

Owing to its strength and versatility, acrylic glass is a preferred choice for use in floating shelves. There are some other reasons that contribute to plexiglass being one of the best options for shelving systems. Let’s have a look.
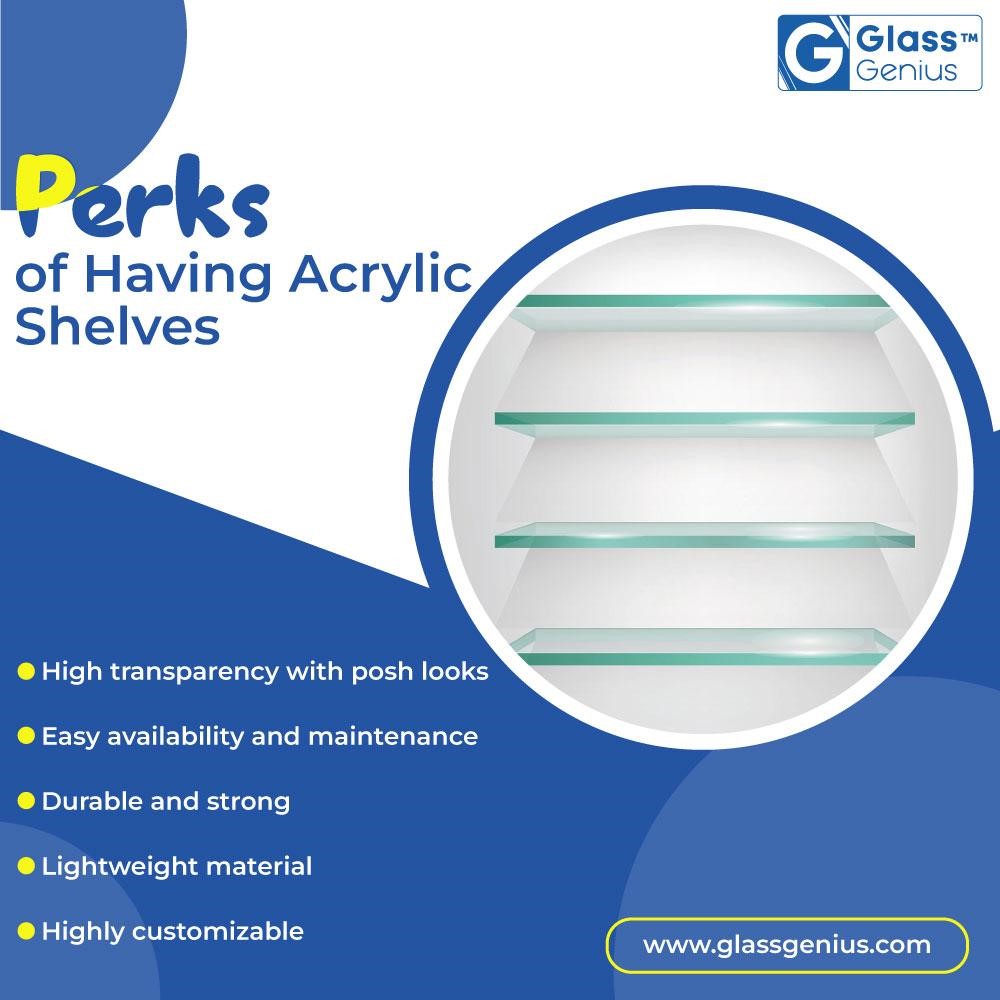
- High Optical Clarity – Acrylic glass is known for its high transparency which gives it a posh look. It creates an illusion of space and adds a hint of opulence to the space. So plexiglass shelves are a great pick for tight spaces.
- Easy Accessibility – Unlike glass, acrylic sheets are easily accessible which contributes to lowering the overall cost of plexiglass.
- Safe And Strong – It is almost impossible to break acrylic glass. So it is safer than glass.
- Lightweight – Plexiglass is very lightweight and easy to handle. That’s why acrylic glass is also widely used for DIY projects.
- Easy to Maintain – Cleaning and maintaining acrylic glass is quite easy. Special cleaners and extensive cleaning techniques are not required to clean an acrylic sheet.
- Customizable – Custom Plexiglass is available in a wide range of colors, shapes, styles, and designs. You can opt for any color or even get custom acrylic sheets according to your requirements.
How to Make Acrylic Shelves?
The best thing about acrylic glass shelves is that you can make them yourself. Unlike glass, you can easily cut and use acrylic glass for home improvement projects. Making acrylic shelves is quite an easy project. Here are the step-by-step instructions to make acrylic glass shelves for the home.
Material Needed
Here are the following materials you will need to start.
- Acrylic sheets
- Right-angle brackets
- Screws
- Level
- Drill with drill bits
- Gold spray paint
DIY Installation Method

Follow the steps to make perfect plexiglass shelves.
- Take the measurements for shelves and buy acrylic sheets cut to size. Check the sides, if the edges are rough, you can use sandpaper to smooth them. However, for most custom orders, it will not need, because the supplier would provide you properly cut acrylic sheet.
- Acrylic sheets come covered in protective paper. Before removing the protective paper, it’s better to mark the locations where you need to drill holes for the bracket. To mark the locations, attach the brackets to the wall in accordance with the location of the studs. Attach two brackets to each end of the acrylic shelf for the window installation.
- If you want to make shelves for the wall, attach them to brackets on one of the long sides of the shelf for reference. Mark the hole point accurately on the lower side of the acrylic shelf to maintain a clean and unaltered shelf top.
- When you have marked the holes, take the brackets and place them on a workspace covered with newspaper or rough paper. Apply a thin layer of gold spray paint to the brackets. You can spray the screws golden as well to match the color with the brackets.
- Now take the drill and drill the holes precisely perpendicularly through the center of the marked points. Start with a tiny drill bit and slowly drill through the hole. Now replace the drill bit with a slightly bigger drill bit and then continue to replace it with the drill bit of the size of the hole. This approach would help you drill a clean hole without cracking the acrylic sheet.
- Don’t drill all the way through the acrylic sheet. Only drill according to the size of the screw.
- Continue with the same approach for all the screw holes.
- Once you have drilled all the holes, take off the protective cover from the acrylic shelf.
- Wait until the rackets are completely dry. Once the brackets are dry, use the screws to fix the brackets on the acrylic shelf.
- With the brackets in place, it’s time to connect the DIY wall shelf to the wall. Align the shelf on the wall where you want to attach it. Use a level to ensure that the shelf is perfectly leveled. Mark the points on the wall.
- Drill holes in the wall for shelf mounting. Fix screen inserts into the holes and mount the acrylic shelf with screws on the wall.
You can also add LED lights to the shelves for a more contemporary look and posh vibe.
Final Thoughts
DIY projects add a sense of character and individuality to the interior settings. DIY acrylic glass shelves are a great project to get a head start. Take inspiration from design enthusiasts, add a spark of individuality to the project, and channel your creativity into DIY home improvement projects.


