Acrylic sheets are widely used for various DIY projects. They are relatively inexpensive (compared to glass) and also look great. Commonly referred to as Plexiglass, homeowners can also use them to make an acrylic box.
Now, a DIY acrylic box can make or break a perfect interior look. You can place a variety of decorative items inside it or just use it as a transparent storage box. On top of its all characteristics, you can also make one at home without breaking the bank. This brief guide is all about how to make an acrylic box at home? So, let us explore it!
How Thick Should Acrylic Be for a Display Case?
Before we proceed any further, let us highlight the ideal acrylic sheet thickness for a display case. Now, the thickness range varies for each DIY project. Homeowners have the liberty to choose the acrylic size, thickness and styling of their choice.
On average, a thickness of 1/4 inches would be just fine. But as mentioned, you can always go for slightly thicker plexiglass for added strength and durability. Also, figure out what you want to place inside these display cases.
That’s because lightweight items may not require thick plexiglass. Whereas, for storing fancy yet expensive items, you should go for slightly thicker acrylic sheets.
Can I Get Ready-Made Acrylic Sheets or Cut By Myself?

That’s another common question homeowners keep on searching for. Well, you can go with any option here. For example, you can order custom cut acrylic sheets and cut them as per your project’s requirements. However, that requires some additional skill and experience. If you have that you can go with this option.
On the other hand, you have readymade acrylic sheets which can be glued together with ease. You can buy quality readymade or custom cut acrylic sheets. So, depending on your expertise and budget, you can choose the right route.
What Tool to Use to Cut Plexiglass?

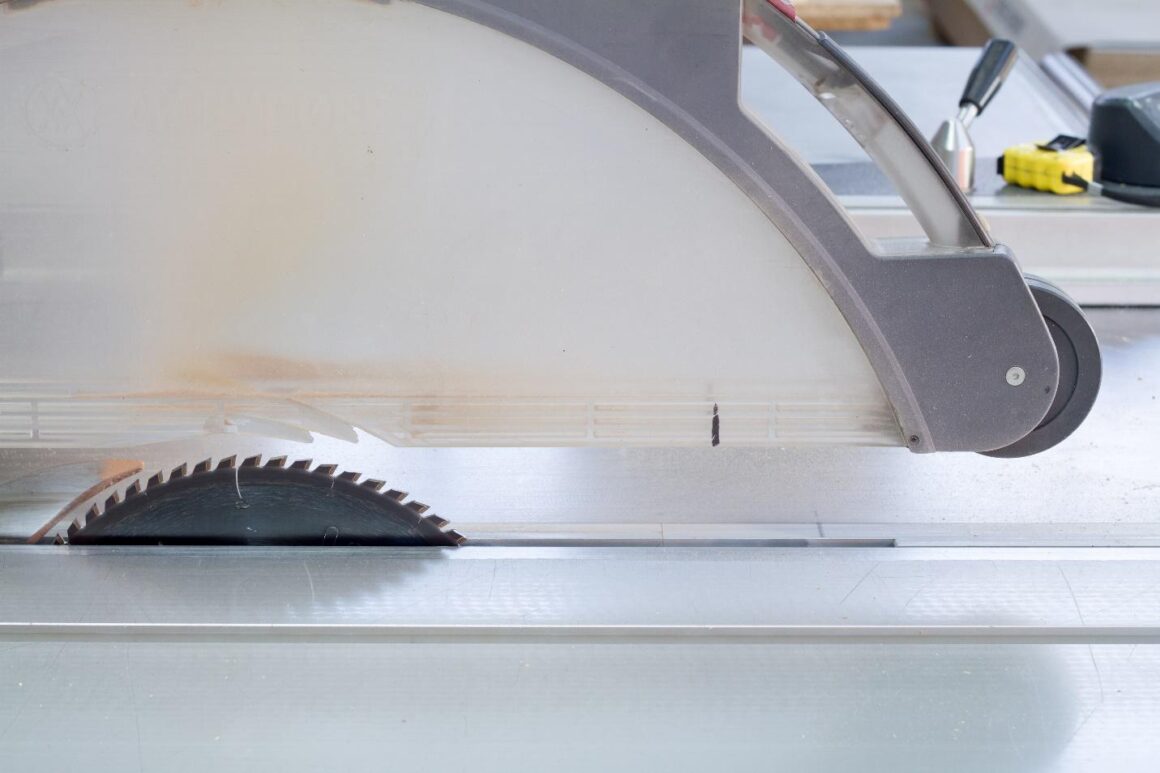
You can use a variety of tools to cut Plexiglass. For instance, a table saw is widely used to cut plexiglass. However, there are simple and easy ways too. For example, you can also use a utility knife to cut acrylic sheets. Sounds interesting? Well, you can also check out our take on how to cut plexiglass sheets.
How to make a plexiglass display case?
Now, let us jump into the actual guide on how to make a DIY acrylic display case. Here is all you need to know in this regard:
Materials Needed
- Acrylic Sheets (Custom Cut or readymade)
- Newspaper
- Acrylic Glue
- A steel scale
- Sand Paper
Steps To Make Plexiglass Box
So, here are some simple steps to follow for making a DIY Acrylic display case at home. Let us get into them.

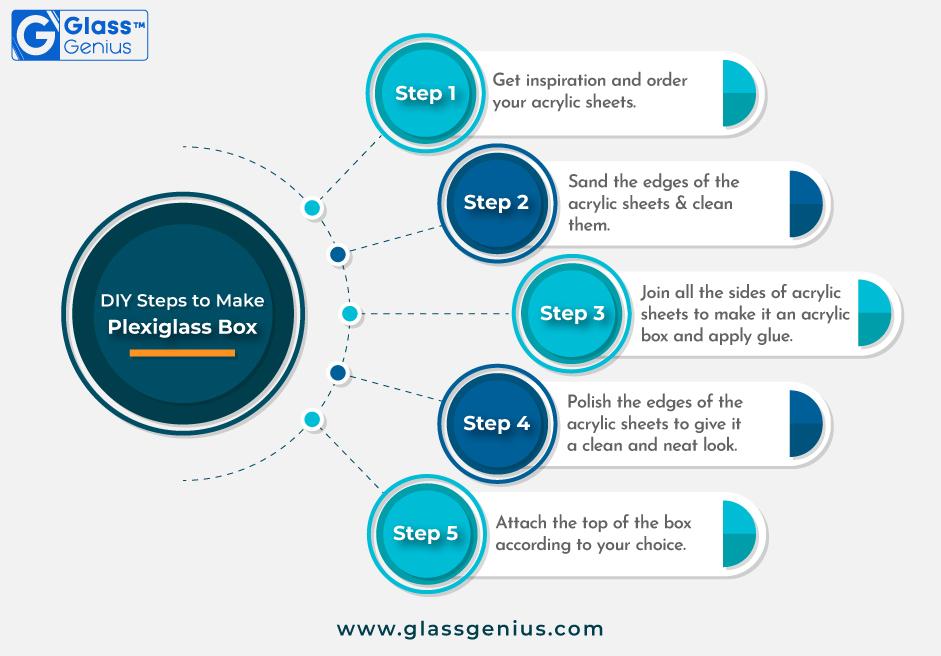
Step 1: Gather the Inspiration
You would have surely seen some fancy acrylic boxes on the internet or maybe at someone’s home. What was so special about those DIY acrylic boxes? Here you should ask such questions to yourself. This will help you plot the right design for your acrylic box.
Step 2: Order Acrylic Sheets
Once the design is ready, you have to order the acrylic sheets. Ensure that you have a good idea regarding the measurements of your chosen acrylic box design. We recommend to buy acrylic sheets (whether readymade or custom cut) from a trustworthy glass vendor Glass Genius. We have the finest quality acrylic sheets available. Plus, you can also order plexiglass as per your project’s requirements.
Step 3: Sand the Plexiglass (If Needed)
Inspect your ordered acrylic sheets. Are there any uneven or sharp edges? If yes, use sandpaper to smooth out the uneven edges. After that align all the sheets together and ensure that they are all clean.
Step 4: Glue Them Out
Next, you have to join all the sides of your acrylic box. Begin with the bottom sheet. Apply glue on all sides of the bottom sheet. Place one sheet on one of its sides. Hold it with your hand until the glue holds it firmly. Let it dry for some time.
Repeat the same process for each acrylic sheet. This way you will be able to join all sheets together.
Step 5: Polish Edges (If Needed)
If you have trimmed the edges before joining them, you can skip this step. In some cases, the edges of the acrylic box may have some scratches or glue marks. So, you can polish them to give your DIY acrylic display case a neat look.
First, use sandpaper to smooth out the edges. After that, wash out the edges with a mixture of soap and water. Dry it off with a clean cloth.
Step 6: Place the Top as Per Your Choice
Last, but not the least, you have to attach the top of the box. Here, you have multiple options. You can either go with a sliding top or a fixed top. A sliding top will slide through a slider. Whereas, a fixed top won’t move across.
It’s easy to fix the top with the help of glue. In this case, you can use any side of the acrylic box for opening. Whereas, for sliding top, you will have to install the required hardware.
Final Thoughts!
So, now you know how to make an acrylic box at home. We have explained the process in simple steps for your ease. Here, the quality of your acrylic sheet really comes into play. Therefore, buy your chosen plexiglass from a reliable glass marketplace.
Further, you can choose any box styling or design. This way you can easily make a DIY acrylic display case at home. Store your favorite items or display them within the acrylic box to complement your home interior.


