If you want to renovate your bathroom, one of the choices you’ll consider will be what material to use for the walls of your shower. Your options will be limited by factors like your budget, your taste, and the size of the room. A shower enclosure should usually be composed of a durable material that can withstand water. Acrylic shower walls give your shower the spectacular appearance you desire. In this blog, we’ll go over many facts related to acrylic sheets for shower walls, so you can make a better selection.
Reasons to Choose Acrylic Shower Wall Panels

✔️ Attractive Aesthetics with Acrylic
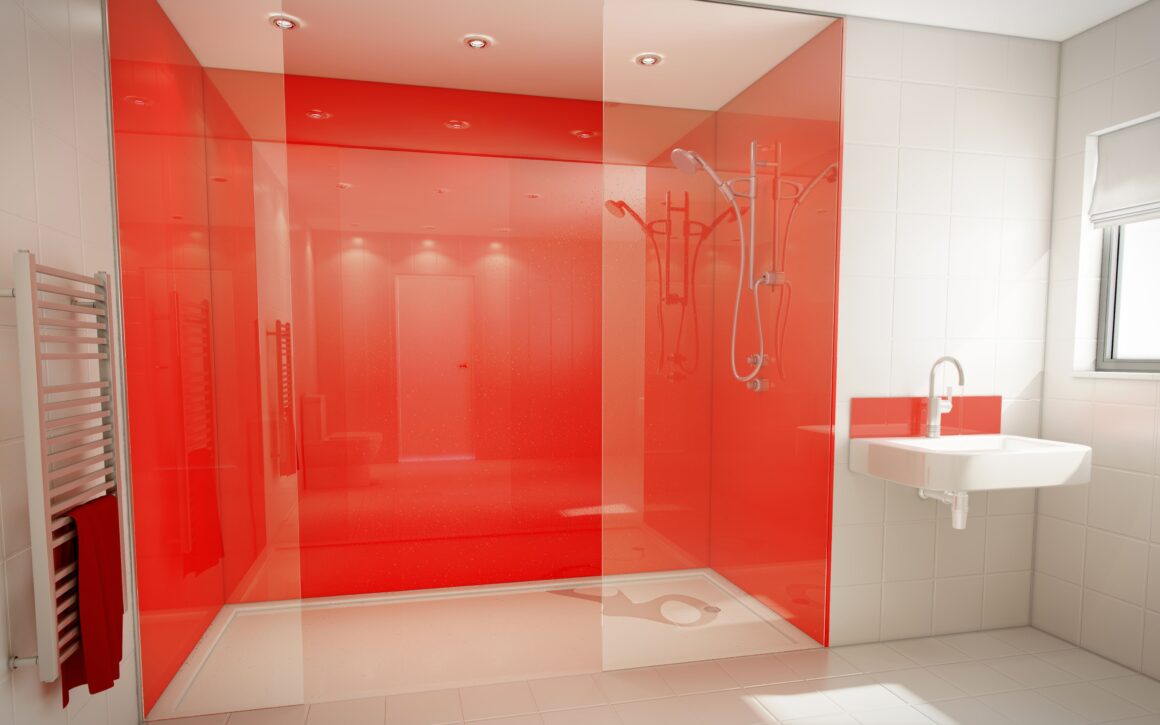
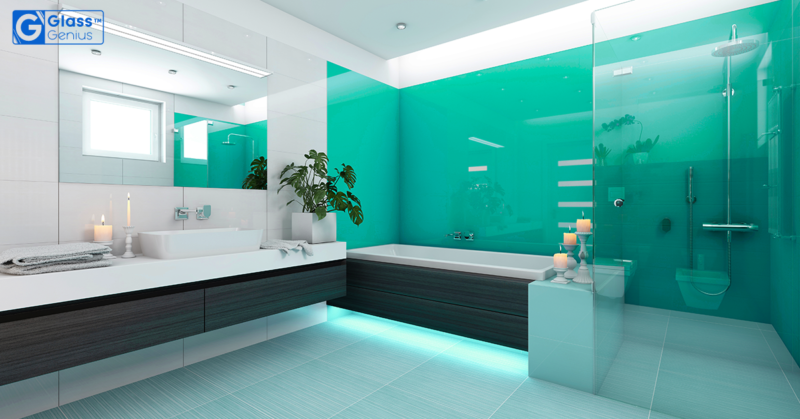
Some acrylic shower wall panels that look like tile are available in a number of finishes, making them excellent options for those who want a more upscale shower design without sacrificing the practical benefits of tile or stone. Acrylic alternatives provide a vast range of sizes, shapes, textures, and colors, making it easy to choose the perfect fit.
✔️ Acrylic Requires Minimal Upkeep
Cleaning and maintaining an acrylic shower surround is more simple than that of a tile or stone one. In reality, all you need is a damp cloth, a mild soap, and some water to clean your acrylic shower surround. Your acrylic shower wall panels won’t crack like tile or erode like a stone because it doesn’t require the same level of maintenance. Acrylic, in contrast to other materials, has a waterproof foundation and requires less attention to water resistance.
✔️ Acrylic Comes on Budget!
It just so happens that acrylic is one of the most affordable options for shower enclosures. The cost of acrylic is far lower than that of tile or stone. As a result, you can get a shower with a stone-like finish without the hefty price tag. Acrylic’s low production cost comes from its mass production, making it more affordable than alternatives like marble and tile. Acrylic is inexpensive both to buy and to put in. Acrylic is popular because it is lightweight and simple to install in place of tile or stone for a shower surround.
✔️ They Have a Long Life Span
It’s possible that acrylic won’t hold up as well as brick or stone. It’s not as strong as tile or fiberglass, but it can still withstand scratches. Acrylic shower surrounds are built to last with appropriate installation and maintenance. As a result, acrylic is regarded as one of the best options for use in shower enclosures.
Over time, these might wear out, causing gaps that let water seep into the shower wall. As a result, moisture can’t escape, which might lead to mold and mildew growth below. Adhesive failure is another possible outcome. It follows that you should regularly check the integrity of your acrylic shower surround.
How to Install Acrylic Shower Walls? Step-By-Step

We will now examine how to get them installed in your shower.
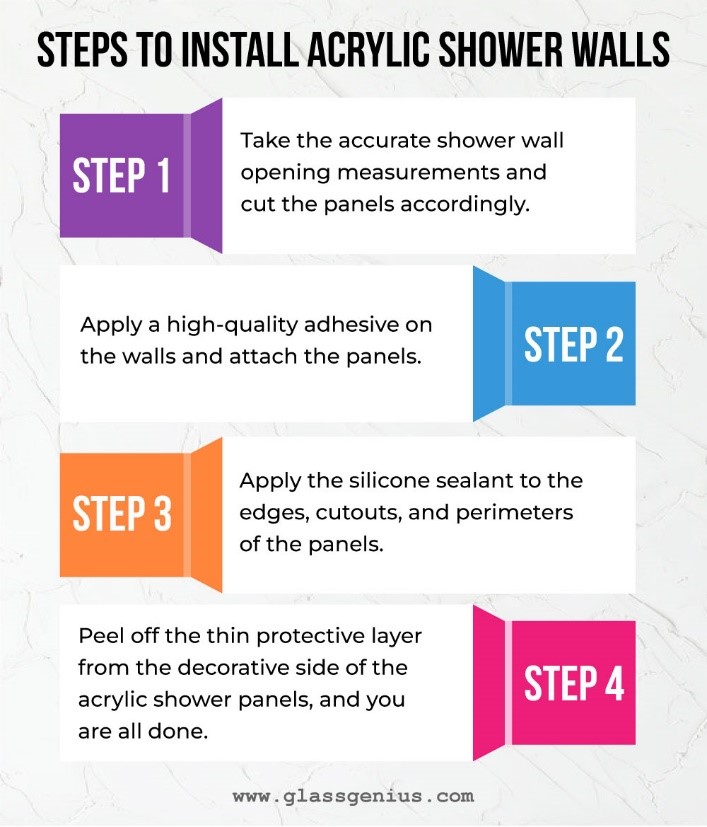
Step 1:
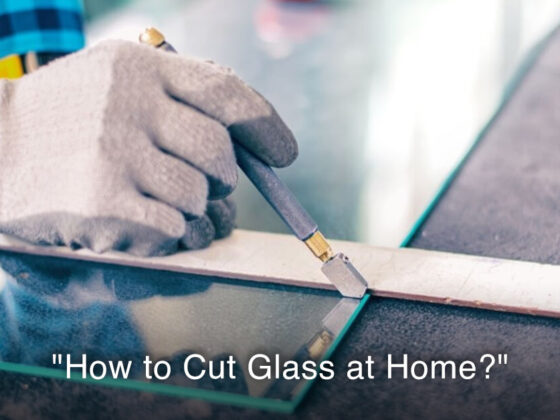
First, you’ll need to take precise measurements of your shower’s wall openings and make sure to cut panels according to the exact size. Put the sheets in a clamp to keep them from rattling while you cut. The use of a “sacrificial board” to dampen vibrations during panel cutting is another option. Draw holes in the panels by using a drill. Don’t drill or screw through the panels to make repairs.
Step 2:
Space beads of high-quality adhesive, say 6 mm in diameter and 100 mm apart. Beads should be affixed to corresponding cutouts.
Step 3:
Now, attach the freshly cut panels to the wall within 30 minutes of applying the adhesive. Using the straight edge, press down on the sheet firmly and evenly to provide a consistent appearance all around. Leave a space between the sheets of 3mm for expansion. To the 3mm, compress the beads, and allow for stronger adherence by pressing the panels properly into your wall.
Step 4:
In the next step, a silicone sealant will be applied to the panel’s edges, cutouts, and perimeters, and it extends out to within 50 mm from the panel’s edge. To further ensure that no water may penetrate your walls, silicone should be run down each inner corner.
Step 5:
At last, after installing your acrylic shower panels, clear the work area and peel off the thin protective layer from the decorative side. You should never clean or scrub your panels with anything abrasive. It is recommended that you use warm water and light detergent to clean your shower panels. Or in case, you can’t find any suitable fit, place an order for custom shower doors for a perfect pick!
Acrylic Shower Walls vs. Tile Shower Walls

Here are some details to keep in mind while deciding between the two types of shower walls.
Acrylic Shower Walls
In the first place, let’s examine why acrylic sheet for shower walls is such a good material.
- DIY or professional, acrylic wall installation is quicker and less labor-intensive than tile installation. The installation of tiled walls takes time, but if you choose acrylic walls, your shower will remain shiny and new.
- A tiled shower wall can cost twice as much as this alternative.
- Compared to other materials, acrylic is more portable and simple to install, even in challenging spaces.
- Customized acrylic shower wall systems are available in different panels so they may be tailored to the dimensions of your existing tub or shower.
Tiled Shower Walls
Here are some of the benefits of installing tiled walls in your shower:
- There are a plethora of tile wall patterns from which to choose.
- Shower walls made of tile are more environmentally friendly. Numerous eco-friendly tiles are available, and they all look just as good as standard tiles despite being constructed from 60% or 40% recycled materials.
- The layout of the tiles can be changed to suit the area being tiled.
Final Thoughts
Walls in a shower, regardless of design, should be protected against water damage and should be covered. You can pick from a wide variety of resources. Acrylic is the material of choice for a shower surround. Don’t hesitate to consult an expert if you’re still unsure about which material is appropriate for your needs. Pick acrylic shower wall panels for a reliable and cozy shower space.
Frequently Asked Questions:
Shower walls made of acrylic have the added benefit of being completely watertight. Acrylic is impervious to moisture for the obvious reason that it lacks pores. The mold and mildew that are unfortunately always present in bathrooms are also prevented from growing on acrylic.
Fast-grab, gun-grade adhesive with a solvent-based formula; that’s Sika Showerbond. It is designed for attaching acrylic plastic shower liners to unpainted gypsum plasterboard, fiber cement, or wood.
Shower walls made of acrylic are the finest option because they are secure, require little upkeep, and can be installed within a few hours.
In order to protect the walls behind tiled or paneled enclosures for bathtubs and showers from moisture damage, a cement board or another moisture-resistant backing material should be installed. It is not recommended to install paper-faced backer boards, also known as paper-faced drywall, behind a seamed tub or shower enclosure.
Commercial and residential showers can use acrylic wall panels that eliminate the need for grout. Such wall panels have the illusion of real tile—including grout joints—but are just 3/8″ thick, for easy to cut and make any style out of it.
If you need to clean something, use a sponge or towel that won’t scratch. Surfaces can be scratched or damaged by a rough sponge. If you want to keep your shower free of soap scum and filth, you should clean it once a week using a gentle cleanser and water.
Prices for complete acrylic shower systems range from $800 to well over $3,000, with variations attributable to factors such as space requirements, extras, and manufacturer names.


