Glass shower enclosures are certainly the most functionally and aesthetically pleasing addition to the bathroom. Installing a new shower enclosure in the bathroom makes the interior posh and luxurious. The old residential buildings are usually equipped with shower curtains which are now being replaced by glass enclosures. If you want to install a new shower enclosure or want to replace shower door, you are at the right place.
This guide will make you learn to remove or replace shower doors by yourself. Read it and perform this easy DIY task.
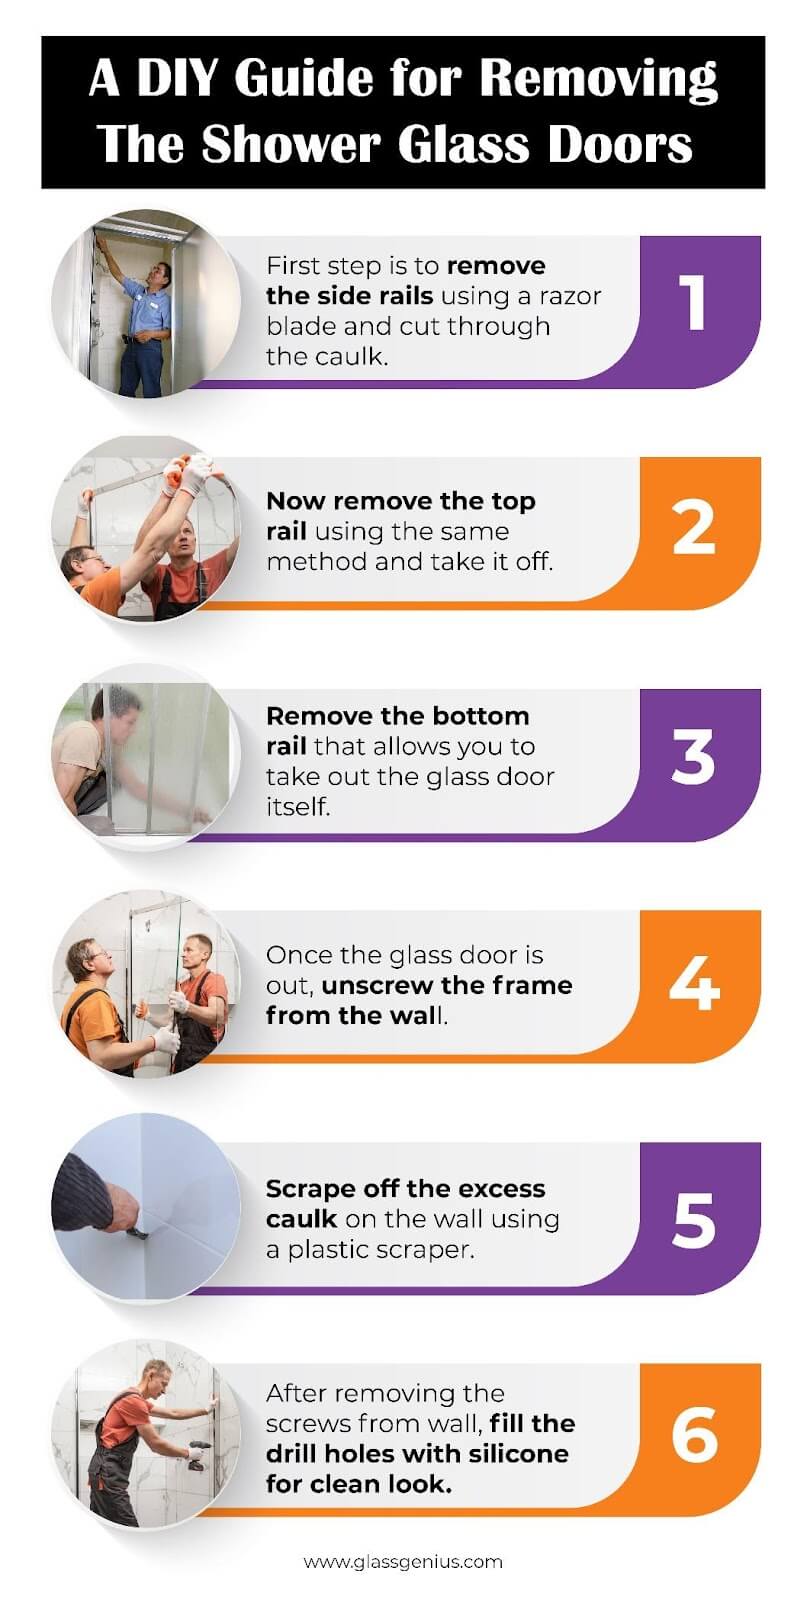
A DIY Guide for Removing the Shower Glass Doors
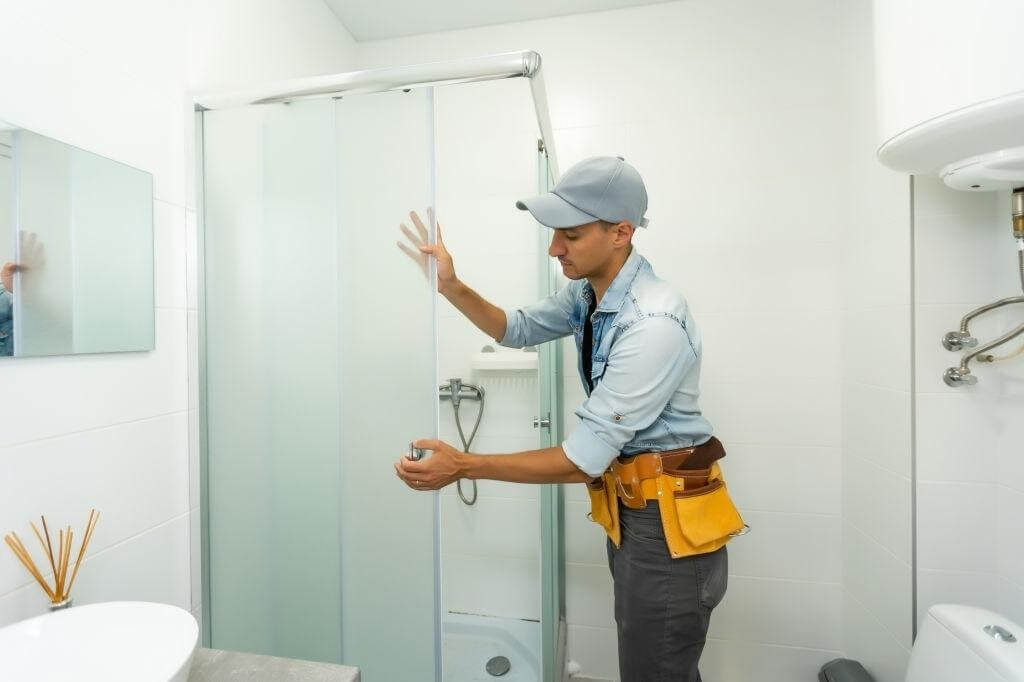
Whether you want to fix an issue in your shower door or you are planning to replace the shower door with a new one, you have to remove the old shower door first. We are all well aware of the fact that installing new shower doors is not a one-man job. Yet, removing the shower doors for an upgrade or replacement is not that hard. Just the right set of instructions and a little assistance, and you are all set to remove the shower glass doors yourself.
Required Tools
You would require some basic tools along with some primary expertise to remove the shower glass doors. Below is the list of tools.
- Razor Blade holder
- Caulk remover
- Utility knife
- Screwdriver
- Plastic scraper
- Caulk gun
Step-by-Step Guide to Removing Shower Panel
Whether you are up for upgrading a framed enclosure to frameless shower doors or replacing an old shower enclosure with a new one, here is your DIY guide for the job.
First of all, check the assembly type of your shower door. Some shower doors can simply be lifted up from the rails to remove them. If you have that type of shower enclosure, your job is pretty simple. However, in most cases, the glass frameless shower doors fit in the metal rails. In such an instance, ask someone to assist you and get ready to remove the glass door.
1. Remove the Side Rails
Apply the caulk remover to the side rails. Take the razor blade and push it under the side rails caulk to remove them. Continue pushing the blade along the vertical side rails. The caulk will soften and the side rails will leave their place.
Repeat the same process on the other side rail.
2. Take off the Top Rails
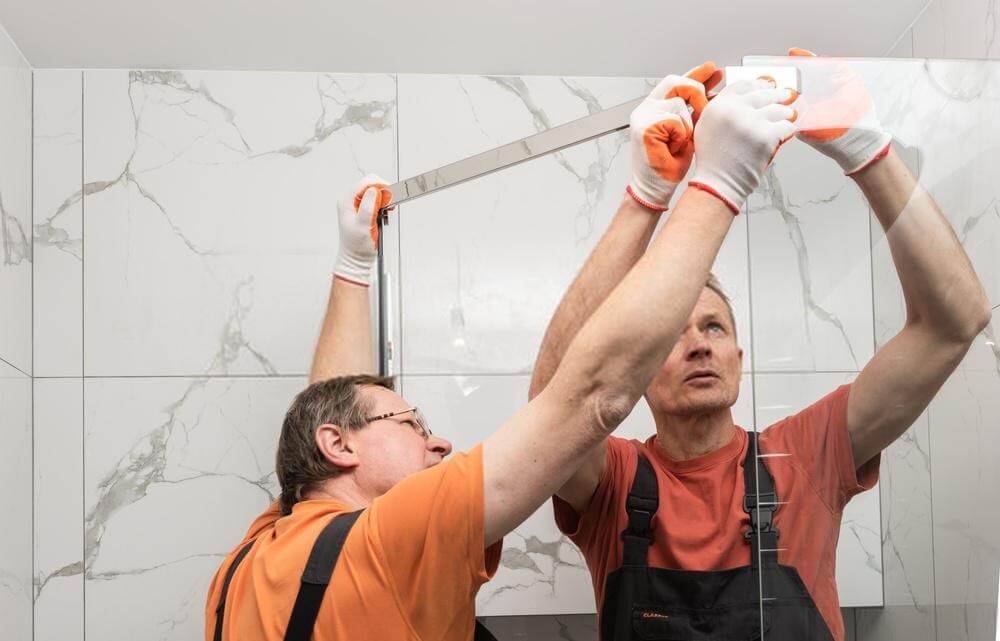
Take the caulk softener and apply it to the top rails to soften and remove the caulk. Now, take the razor blade holder. Push the blade under the edge of the caulk in the top rails. Make sure that you push the razor blade parallel to the tile and under the caulk. Otherwise, the razor blade will scrape down into the tile. Keep on pushing the blade under the caulk along the top rail. The top rail will eventually soften and lift off the place.
3. Remove the Bottom Rails and the Glass Door
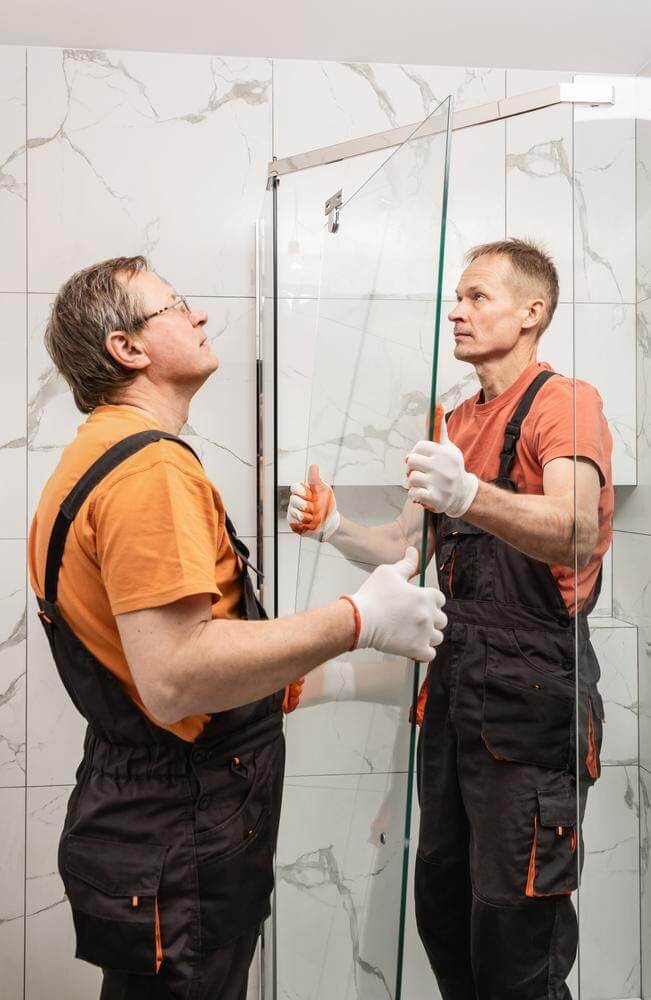
Once you are done with the side and the top rails, it’s time to remove the bottom rails. The door only has the support of the bottom rails now. So removing the bottom rails translates into removing the door itself. Make sure to ask for help before removing the bottom rails. The glass shower enclosure can be heavy, so get some assistance.
Remove the bottom rails following the same procedure as that of the side and top rails. Lift and remove the door from the rails and set it aside.
4. Detach the Screws from the Frame
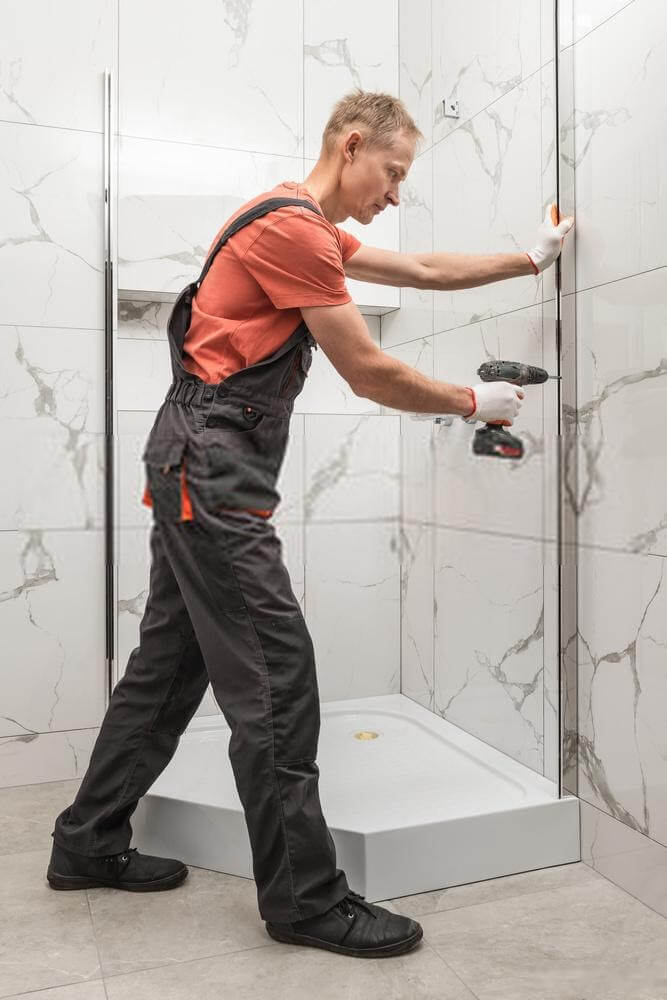
After removing the frameless shower doors from the frame, remove the screws from the frame. Take a screwdriver and gently bolt out all the screws.
5. Dismantle the Frame
To replace shower door frame, take a utility knife and slowly disassemble the old frame from the wall. Use the knife parallel to the frame and wall in order not to scrape off the walls. Start from the top racks and then move towards the side rails.
6. Scrape the Excess Caulk off the Walls
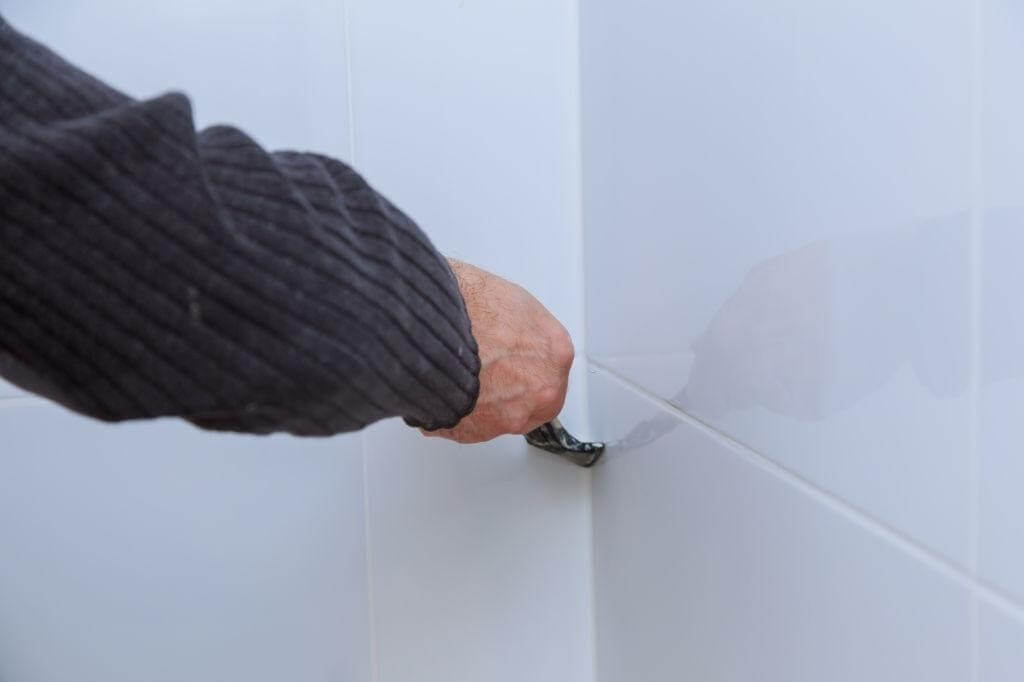
When you remove the frames and the frameless shower doors, you might note some excess caulk on the wall. Scrape it off the walls with the help of a scraper.
7. Fill the Holes
Now comes the last part. On removing the screws from the wall, you will be left with some drill holes. These holes may not go perfectly in line with your new door. So you should fill them with silicone caulk. Take a caulk gun and fill every hole with silicone caulk. Leave the caulk to dry.
Here you go! You have successfully removed the shower enclosure. Your bathroom is all-ready for a new frameless shower door.
Replace Framed Shower Doors with Frameless
The frameless shower doors are trending due to the elegance they provide to the bathroom. The sleekly designed frameless doors open up the small spaces and give a lavish look. To replace shower doors with frameless enclosures, follow the enlisted steps.
Removing Old Framed Shower Door
- Remove the rollers or hinges of the shower door.
- Remove the caulk holding the shower door with a tub or wall using a putty knife.
- Pull out any screws on the shower frame.
- Take out the rails and frame from the walls.
- Clean the area and remove any residual caulk or silicone from the surface.
Replace with Frameless Shower Door
- Install the door hinges and tighten the backplate screws.
- Align the door and ensure that it is level with the spaces on the sides of the door and even with the adjacent walls or doors.
- Take a masking tape and put it over the tile where the hinges will be installed.
- Make holes in the walls using a drill machine.
- Insert screws in the hinges.
- Add caulk over the track and place it on the shower floor.
- Drill holes and add screws in them before sliding the shower panel onto the track.
- Add caulking around the glass and let it rest for two days before using.
Note: Every frameless shower door comes with a user manual that has the manufacturer’s instructions. Read that manual before starting the replacement project. Safety Instructions: Always use safety glasses and respirator masks during the DIY project.
Related: Framed vs Frameless Glass Shower Doors
Bottom line!
Removing a glass shower enclosure from the frame requires very basic skills and tools. You can remove the shower doors by following the above-mentioned guide. Nevertheless, you have to be careful with handling the glass door!


