 Select Shape
For casual gardeners as well as professional farmers, there comes a time when they need to take their craft to the next level of a DIY greenhouse. Growing crops outdoors can be limiting. Particularly in areas that are prone to storms and severe weather changes. The same is true for areas that have short growing seasons.
Fortunately, there is a safe, affordable, and authentic alternative to these limiting factors: building a DIY greenhouse. For most DIY greenhouse plans, gardeners and farmers will be able to extend their crop seasons and better protect their yields, which in turn means stable growth and more of the other green stuff—money.
Unfortunately, many people are deterred merely by the thought of building their own DIY greenhouse. It seems like too large of a project. However, that is not the case. Here we will walk you step-by-step through the process of how to build a greenhouse so you can continue doing what you love all year round.
Benefits of Building a DIY Greenhouse
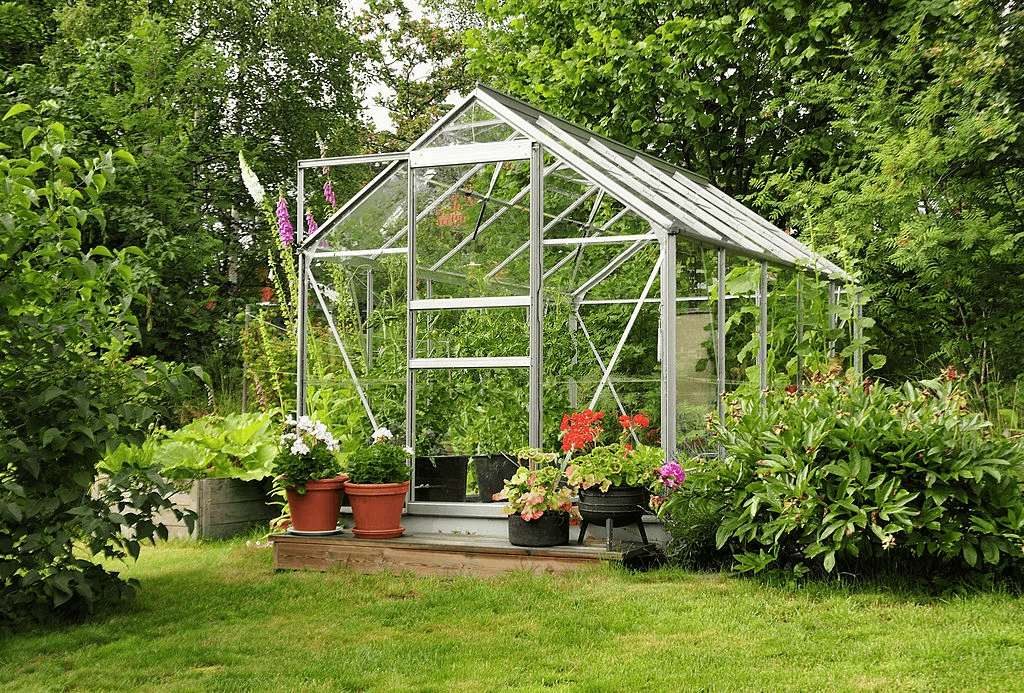
If you have had DIY greenhouse ideas bouncing around in your head but you just can’t seem to make them a reality, sometimes it helps to understand the benefits of making your dreams a reality. Creating a DIY greenhouse is much more than just something plant lovers do in their spare time.
Rather, there are some key benefits that greenhouses bring, including protecting against unfortunate weather—both damaging storms and harsh winters—as well as keeping pests at bay, and even giving you the ability to customize your plant selection and harvest time.
How to Build a Greenhouse?
Do not let the idea of building an entire DIY greenhouse yourself intimidate you into settling for the same old seasonal growing routines. There is a better way! Greenhouses can be large structures meant to produce large crop yields, but they can also be small hut-like buildings in a backyard to help you continue your hobby and avoid the elements.
Let’s walk step-by-step through the process of how to build a DIY greenhouse.
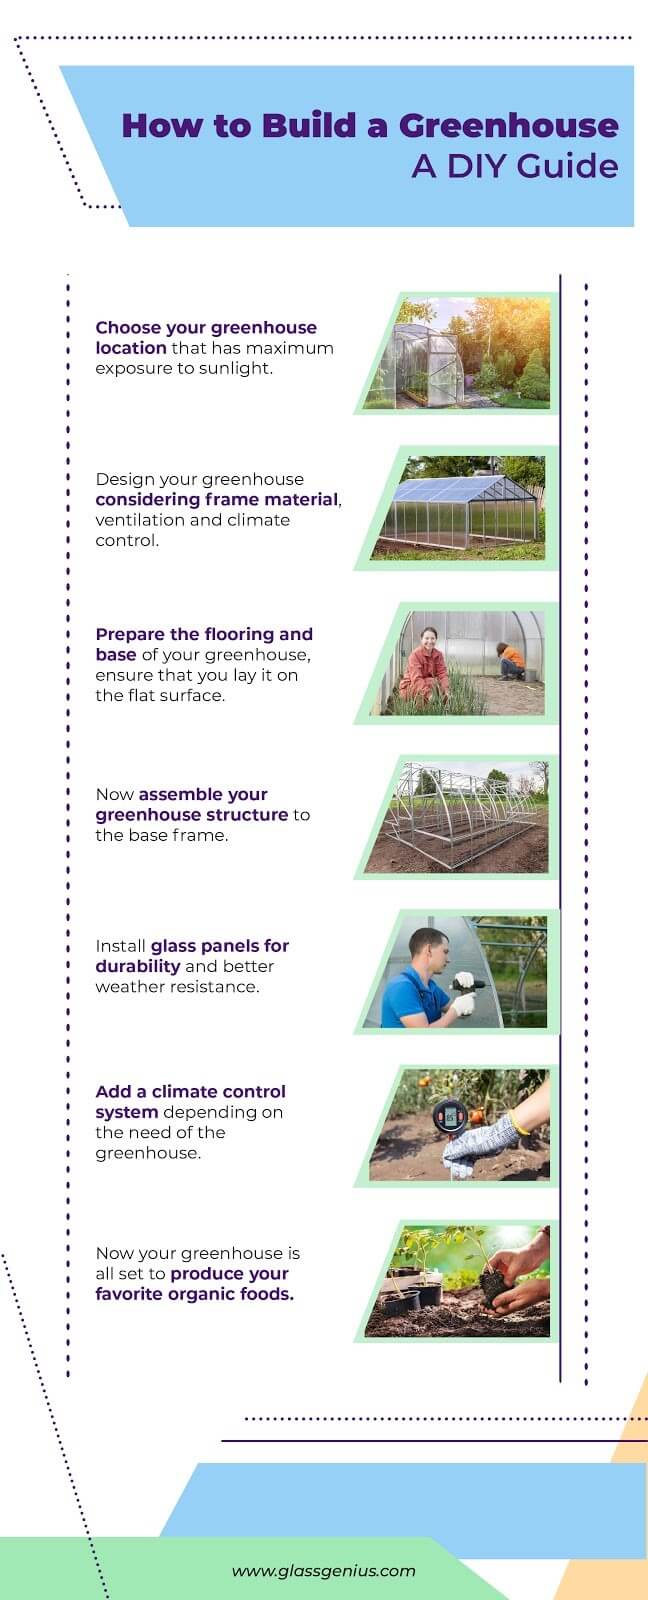
Step 1: Plan Your Greenhouse Space
As you begin the process of building your DIY greenhouse, it is important that before you lift a single tool you take some time to plan your greenhouse space. Ensure that you have the proper location for your greenhouse.
Think about the important things, such as: Where will it go? Will it be near an electrical source, if one is needed? What area of the yard gets the most sunlight? Where can it be positioned to avoid unnecessary wind? How big does the greenhouse need to be to meet current and future gardening goals?
These are all important questions that you need to ask yourself and thoroughly address before beginning even the design stage of your greenhouse project. Once these questions are answered, it’s time to get to specifics.
Step 2: Define Design of the Space
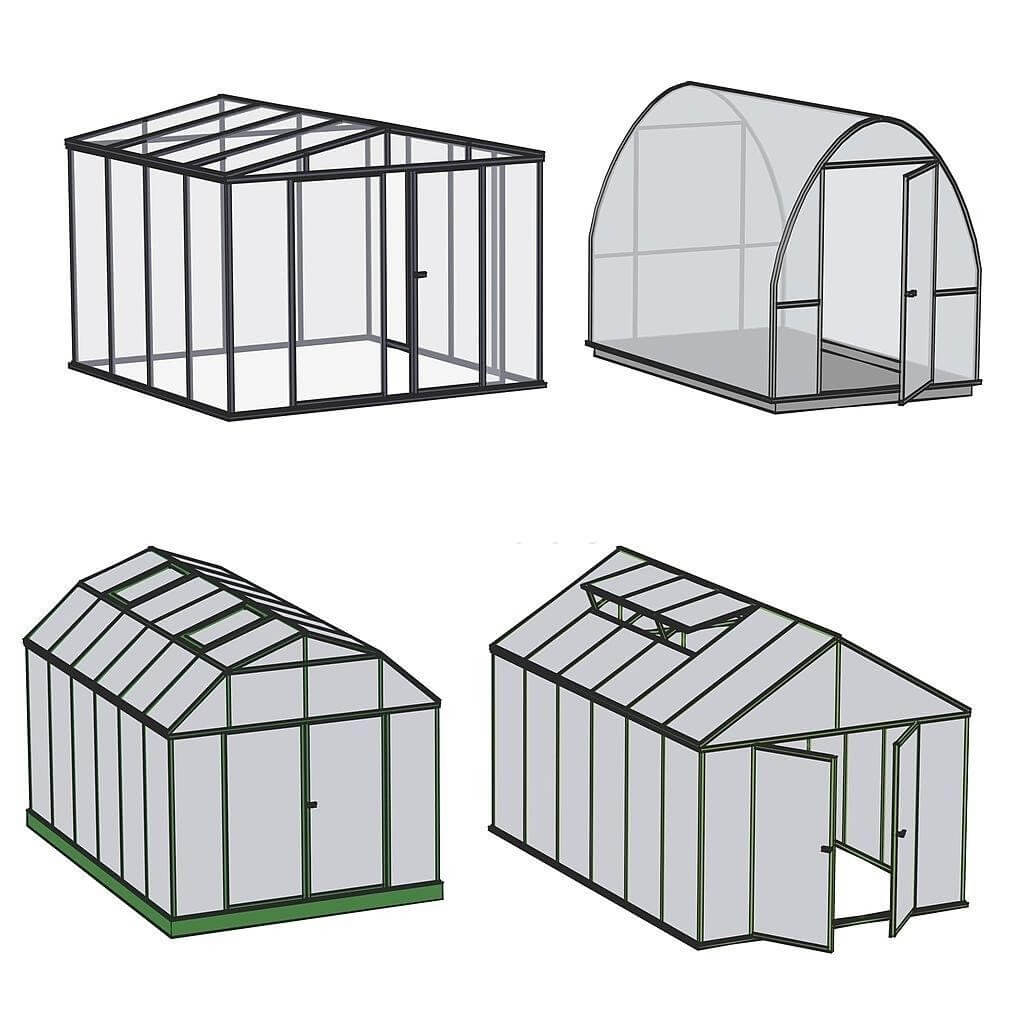
So, you have chosen the perfect spot to put your greenhouse. That’s an important first step.
Now you need to actually design what your DIY greenhouse will look like. Do you want it to be made of wood framing or metal? How big will it need to be? Will it need space for heating, cooling, or other climate control systems, or will it simply be using natural sunlight and standard ventilation? Answer these questions first.
Next, based on your answers, you can pick out a greenhouse kit. Several companies sell kits for metal-framed greenhouses. If you are handy with tools, you can also build your own frame out of wood.
Step 3: Lay the Flooring
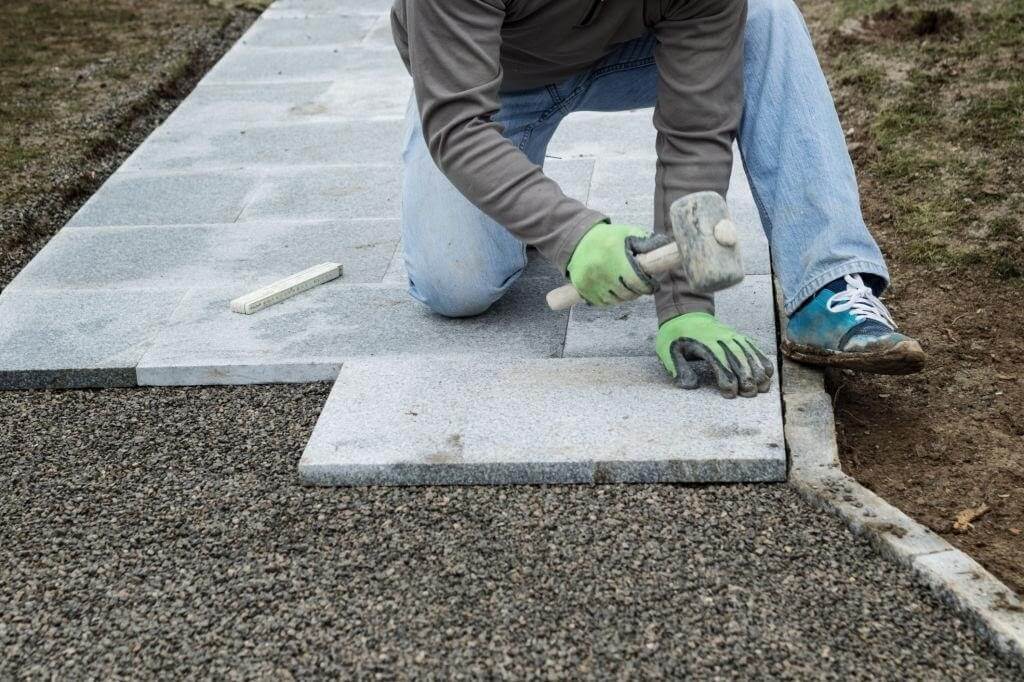
You know exactly where your greenhouse will go, how big it will be, and what it will look like. Next, you will need to actually get to work. An important and often overlooked first step is laying the greenhouse flooring. On particularly flat ground, this can be as simple as laying a gravel pad. However, if you want a little more structure to your greenhouse or if there is any slope, you should consider building a wooden base. This can be done by understanding the size of your greenhouse and then measuring and cutting planks of treated lumber to that size. You will line them up side-by-side to the length of the greenhouse and then fasten them together with beams that run beneath them.
Once your base is built, you should allow it to sit idle for at least a couple of days to acclimate to the climate, as the wood can shift based on temperature and humidity. After that, you are ready to assemble your greenhouse.
Step 4: Pull-together Greenhouse Structure
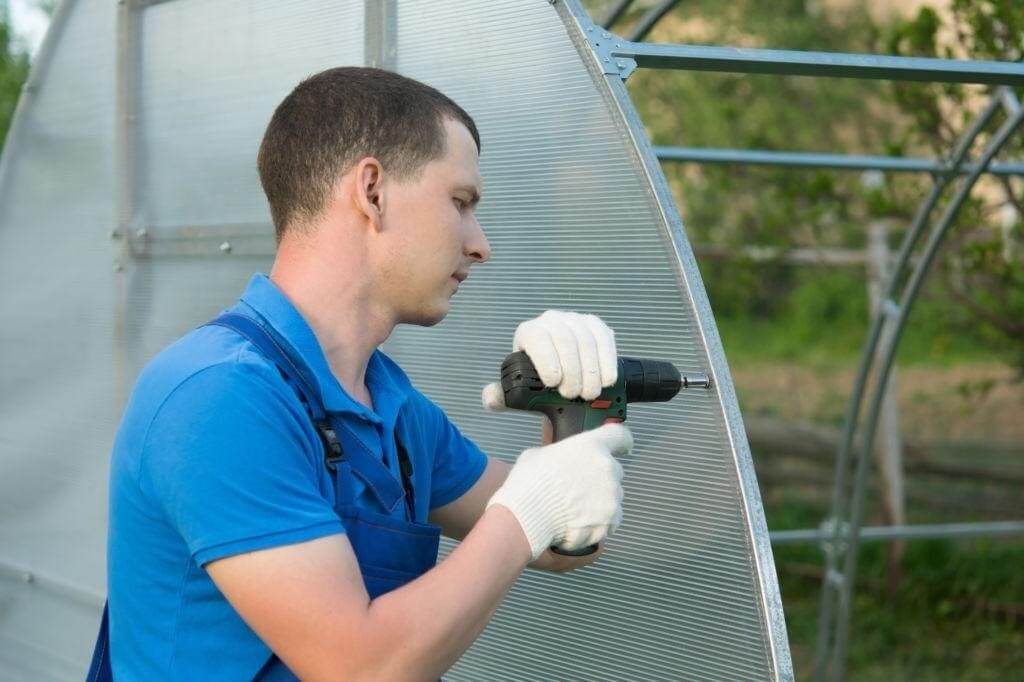
This is the step that will likely take the most work, but that will be the most rewarding. When people think about DIY greenhouse projects, this is the step they are thinking about. With either your greenhouse kit in hand or a pile of lumber and power tools, it is time to start assembling!
Installing a glass panel for a greenhouse!
Now comes the install panels. Well, that’s the most crucial part when it comes to building a greenhouse. Some of us may not know the sorts of panels used in setting up a greenhouse. Here are two basic glass panels you can go for while planning to build up a DIY greenhouse.
- Install Plexiglass or acrylic sheets for great temperature control
Plexiglass is a great option for building a greenhouse as it grants a lot of useful characteristics. First of all, it’s quite affordable than the other materials used for greenhouses. Along with being handy in price, it’s highly durable and scratch-resistant. Plexiglass can control the temperature easily, and won’t easily shatter down when an external force is applied.
- Clear Visibility with Polycarbonate
Whereas, on the other hand, polycarbonate glass has resulted from bisphenol, which is an organic compound. Polycarbonate roofing is also used in the construction of commercial buildings and greenhouses because of its clear visibility. This sort of mixture of glass and plastic sheets is also very durable, scratch-resistant, and weather-resistant. You can easily go for this option, too, while setting up a small greenhouse in your garden.
Out Pick! Plexiglass is mostly recommended for greenhouse construction because it’s far more affordable than polycarbonate and even cutting, bending, or molding works better with an acrylic sheet as compared to polycarbonate.
Step 5: Time to Set the Temperature Control – Optional
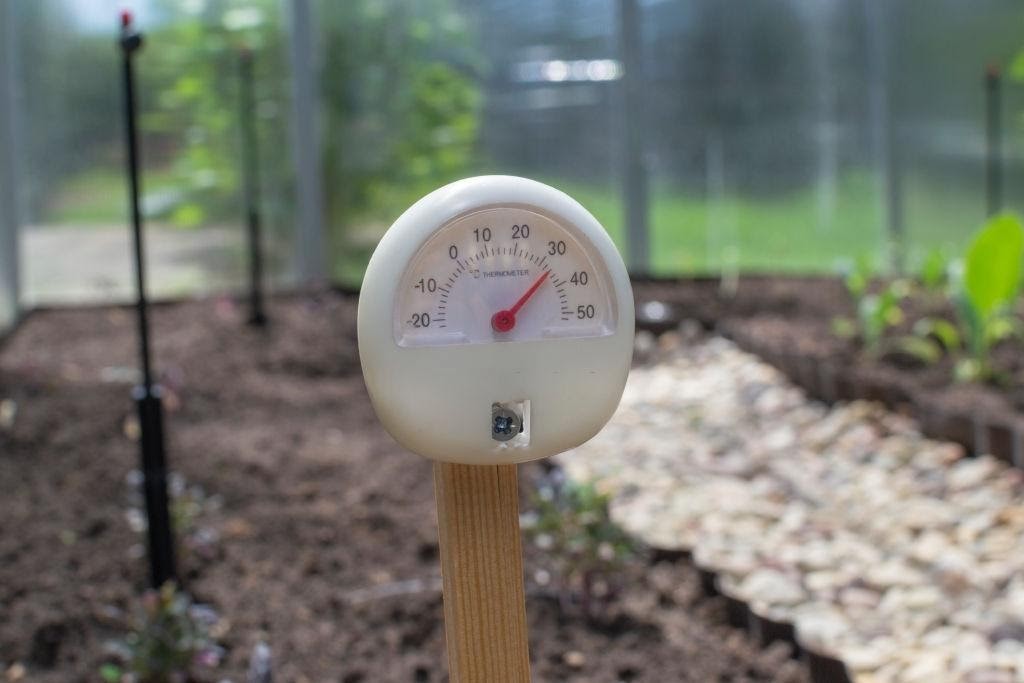
Not all greenhouses required heating, cooling, or other climate control features, especially mini DIY greenhouses. However, if you have made the decision that these are things you want to include in your greenhouse, now it is time to address them. You will first need to establish an electrical source. This is most commonly done by running power from your home to the greenhouse. If you are not experienced with electrical projects, it is best to leave that step to a licensed electrician.
Once you have electricity in the greenhouse, install your heating, cooling, or other climate control features based on their manuals.
Step 6: Fill Your Glasshouse with Loads of Greens
This is what all your hard work was for! You can finally step foot into your brand-new DIY greenhouse and be proud of the work that you put in. Start bringing in your pots and seeds and soil and get to work!


