Whether you are planning to remodel your house or just want to increase your property’s worth, replacing its windows can be a good idea. They are easy to replace and also enhance the looks of your house. Many homeowners want to know “how to install replacement windows.” In fact, it’s not that hard if you follow the right installation steps. Here’s this blog post covering all the aspects you need to know for installing replacement windows.
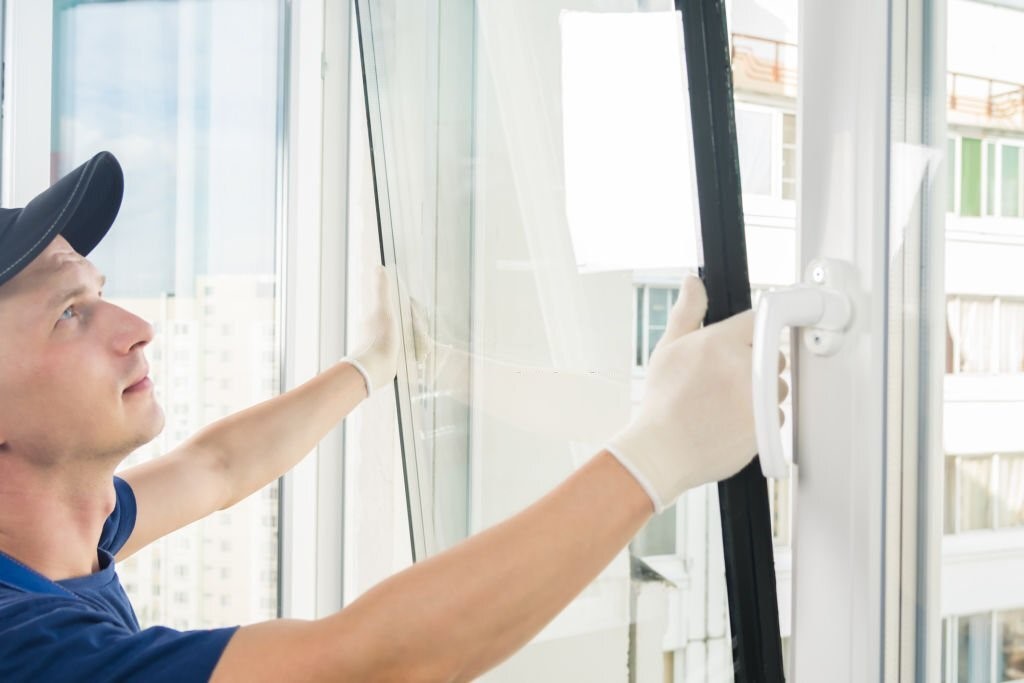
When You Need Window Replacement?
Before we begin, let’s first find out when you need to go for window replacement. eventually a pretty pricey and time-consuming project.
1: Drafty Windows
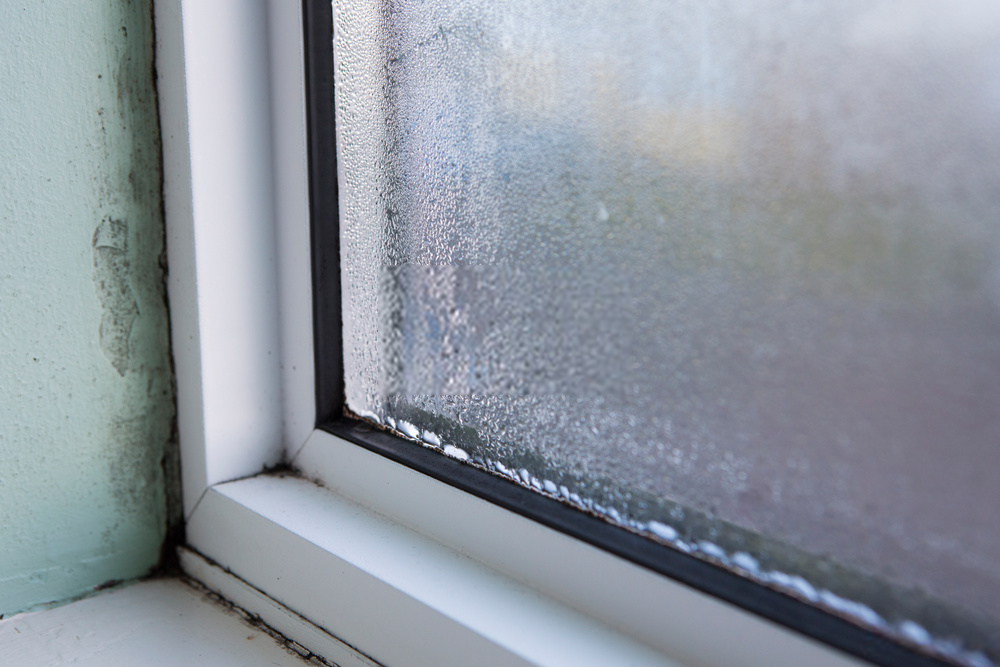
Drafts in windows can be one solid reason to replace them. Most of the time, it’s the weak seal or weather strip that causes this issue. So, if you find some drafty windows in your house, it’s time to replace them.
2: Higher Energy Bills
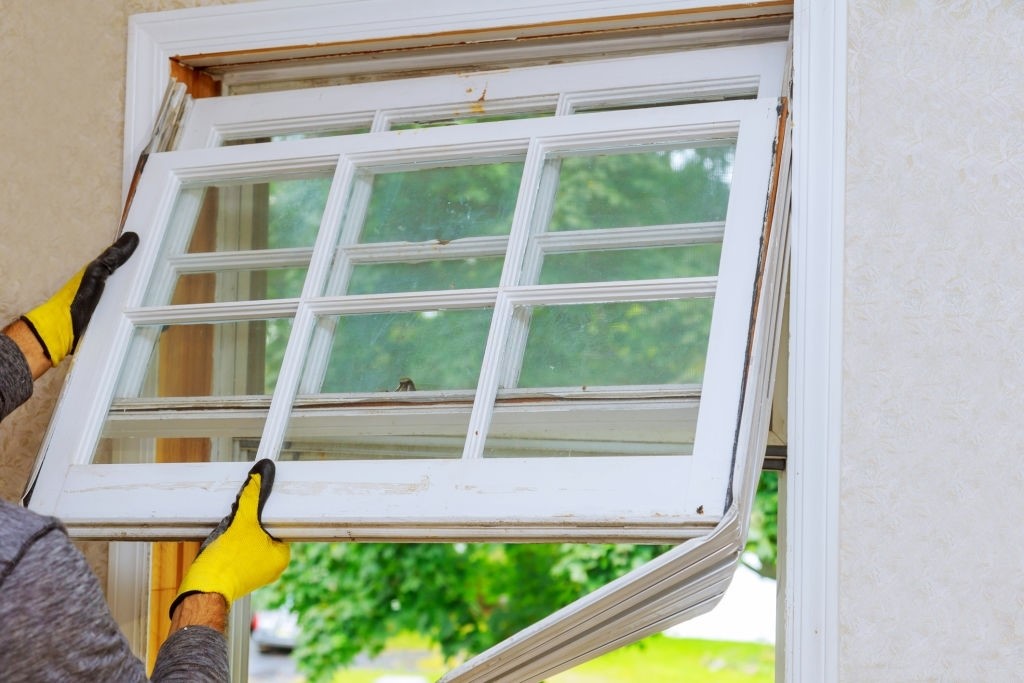
Higher than usual energy bills can also be one reason to replace your house windows. For instance, quality dual pane windows have good insulation properties. However, with time and aging, they may not perform the same.
That’s why your aging house windows can also cause a significant rise in energy bills. So if that’s happening with you, consider replacing your house windows.
3: Visibly Damaged Windows
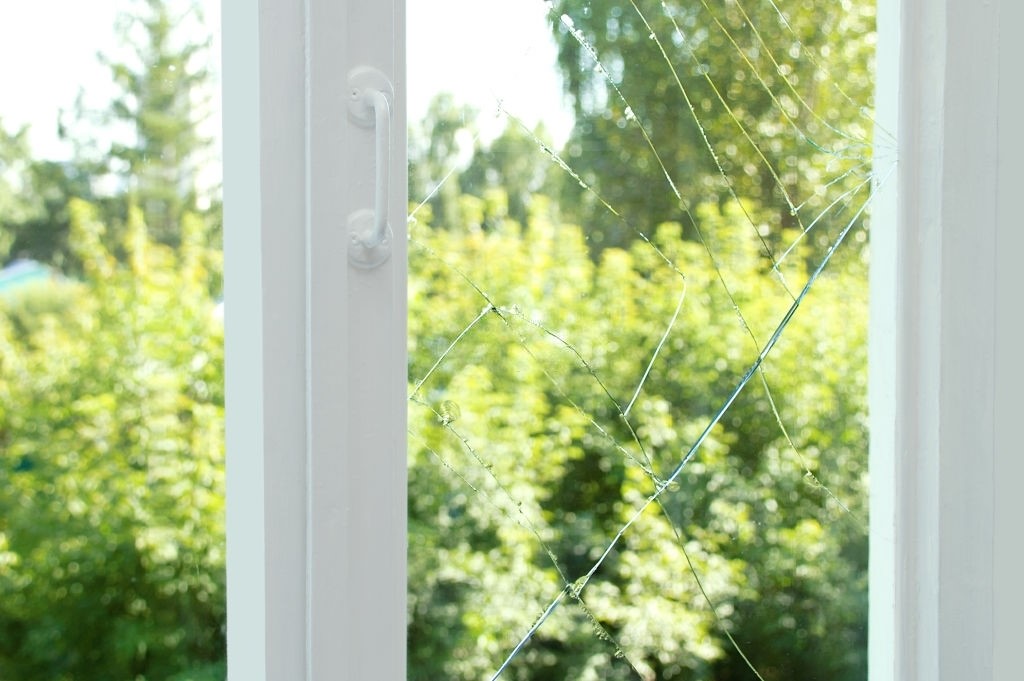
Who wants his home to look ugly and blemish? Of course no one. So, it is best to replace damaged windows as soon as possible. The visible cracks on windows can even cause them to fall off.
Is Replacing The Window By Yourself A Good Idea? (Some Merits and Demerits)
DIY window installation isn’t a bad idea. However, you have to be extra careful throughout the installation process. Here are some merits and demerits of replacing the window yourself.
Merits
1: Boosts Your Confidence
Installing replacement windows with any DIY method boosts your confidence in so many. You no longer feel hesitant to take part in any home improvement project. Further, you end up learning a new skill.
2: Cost-Effective
Not all homeowners are willing to pay the hefty installation cost of replacement windows. You may be one of them. Don’t worry; just carefully follow the installation steps, and you can save some extra cost.
Demerits
1: It’s a Risky Task
Installing a replacement window is definitely risky. Especially if you have to install one on the upper floor of the house, the window can get damaged. Also, if the window isn’t installed properly, it may not look good.
2: It can be Frustrating
Only a properly installed replacement window would serve its actual purpose. In short, the installation process must go all smooth without any glitches. That’s why you can get frustrated if anything goes wrong during the installation.
3: It’s Time Consuming Task
Installing replacement windows is not a hassle-free process. Removing the old window to install the new one takes time and effort. If you don’t have enough time, you can always take help from professional installers.
Tools you’ll need

Below mentioned are some necessary tools you’ll need for installing the replacement windows.
- A couple of screwdrivers
- A utility-knife
- Measuring tape
- Pry bar
- Cordless drill
- Crowbar
- Hammer
- A paint brush
How to Install Replacement Windows – The Actual Process
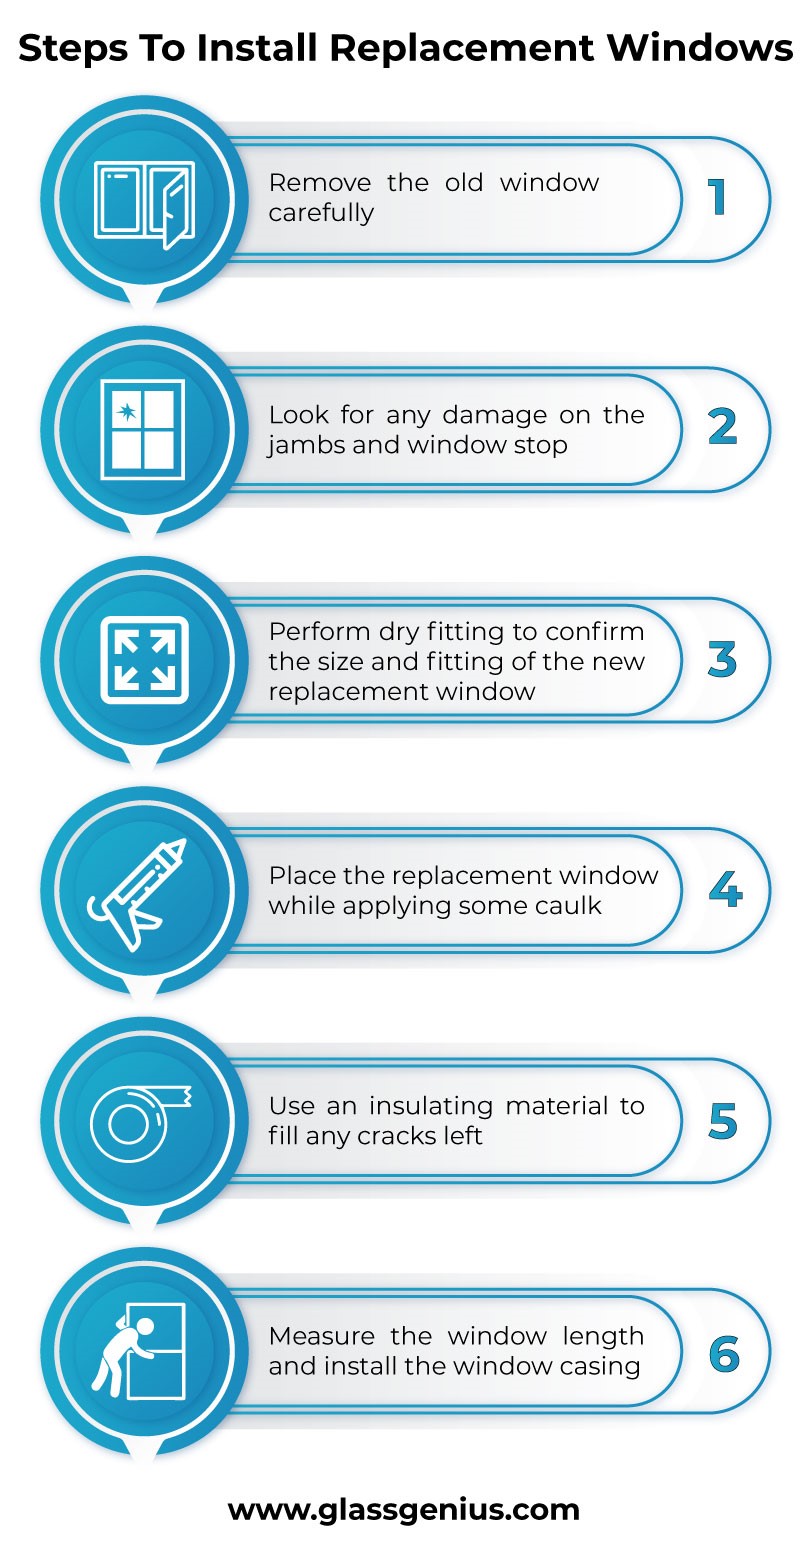
Now comes the actual installation process. It’s not that complicated, just ensure you don’t miss any step.
Step 1: Removing the Old Window
The first step sounds quite obvious, but because of its importance, it can’t be overlooked. You have to remove the old window carefully. Don’t forget to wear safety goggles and a face mask before removing the window. It is also suggested to wear full sleeve clothes to avoid any unwanted contact with broken glass or frames.
Use a plastic sheet and spread it beneath the window. The plastic sheet would capture broken pieces of glass (if any). Now, unscrew the old window’s trim with a crowbar’s help. Make sure that you don’t damage the jambs while unscrewing the trim. Let someone stand outside the window to prevent an accidental fall is best. After removing the trim, carefully take out the window. Hold it with care to prevent any damage.
Step 2: Look For Any Damage
Once the window has been removed, it’s time to inspect for any damage. The empty jambs could be damaged. In case you find some waterlogging, consider replacing the frame. The window stop also needs attention most of the time. If they are in good condition, you can reuse them.
While inspecting for damage, don’t forget to clean the jambs. Ensure that there are no insects, dirt, and leaves on jambs before proceeding any further.
Step 3: Dry Fitting
Dry fitting is the step where you have to confirm the size and fitting of the new replacement window. It is recommended to test the size and fitting of the new replacement window. It should fit well. Look for any uneven space or cracks. If there aren’t any, you can place the replacement window without worrying about its size and fitting.
Step 4: Placing the Replacement Window
To place the window, apply some caulk. Then, place it against the interior stops. Don’t apply any extra pressure, just press it lightly so that it fits within the frame. Check out all the corners, and there shouldn’t be any uneven gaps. All replacement windows come with four screws. Use these supplied screws to fit the window from the inside.
Step 5: Getting Rid of Gaps
Ensure that there are not even some minor cracks left. If there are any, fill them up. You can use some insulating materials to fill these cracks. For example, insulating foam can easily fill these smaller cracks. In case of larger gaps, use some weather strips to fill them.
Step 6: Installation of Window Molding and Extension Jambs
Now comes the turn to install the window molding, aka window casing. Here, you can go creative by choosing a window casing that matches your home’s interior. To install the window casing, measure the length of the window.
Then, cut the casing according to the measured length. Use some glue to install the window casing. Lastly, there shouldn’t be any space between the drywall and the window. Use jamb extensions to cover the gap (if any).
Related Article: Can You Replace Glass In A Double Pane Window?
Bottom Line:
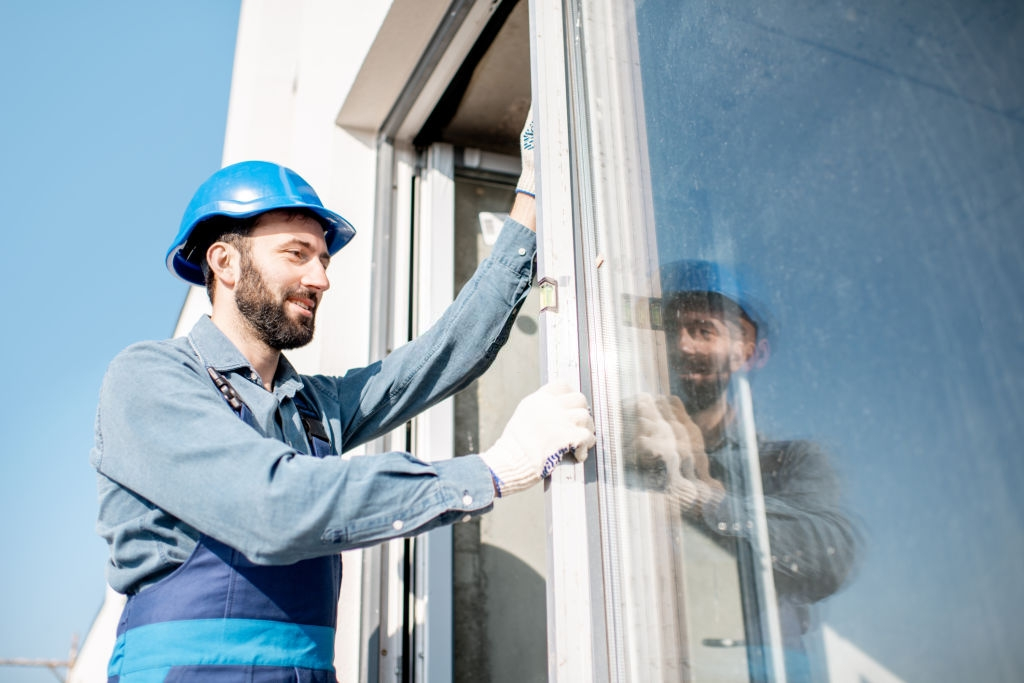
So, that was your step-by-step guide on how to install replacement windows. On paper, the whole process looks quite straightforward. However, it can get complicated for some homeowners. In addition, you may not have the skill or experience to deal with installation hassles. On the other hand, if you have a bit of household repairing experience and follow all safety measures, you may install it on your own. Either way, it is recommended to buy the replacement glass from a reputable supplier. Glass Genius is a trustworthy supplier and has all types of replacement glass readily available. They offer free shipping and have unbeatable prices. So, whenever you plan to install replacement windows, order your replacement glass from Glass Genius!
Frequently Asked Questions:
Yes, you can install replacement windows yourself. However, installing multiple replacement windows can be risky. You may opt for a DIY method if you are skilled enough, have all the required tools, and have no time constraints.
Most of the windows are installed from the outside. On the other hand, some houses may require installing windows from both sides.
It’s not that hard nor that easy. It requires experience, confidence, and skill set to change windows. You can always take help from expert window installers.
Ideally, house windows can last anywhere from 15 to 20 years. So, you don’t have to replace them quite often.


